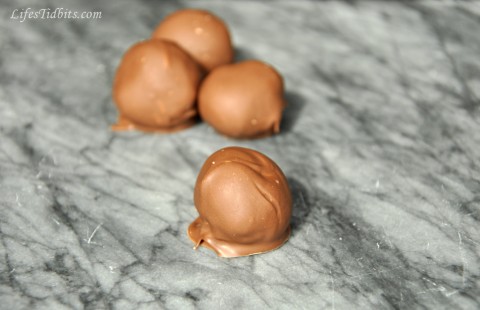
I’ve recently become somewhat obsessed with making truffles. Right before Easter my friend came over to hang out and was interested in learning how to make truffles.  I had been dying to try out this new truffle recipe and decided it was the perfect time.  I told her we had to document the process as this was a recipe I had been planning to blog about.  So …. we collected all the ingredients, got the camera ready and the truffle making began!

Although I do really enjoy cooking by myself, having someone to chit chat with and lend that extra hand makes the process that much more fun!  I’ve been trying to think of a clever/fun name for these truffles, but haven’t come up with anything good yet.  I was considering PB&R, but that reminded me too much of the beer PBR … pout.  Any good name suggestions out there?

If you decide to go for the larger portion of peanut butter these truffles kind of become a fancier and more decedent version of Reese’s Peanut Butter cups with a hint of Raspberry.  Either way the feedback on this little dessert was very positive so it will definitely be staying in the make again (and again hahaha) pile of recipes.

Here we go … it’s truffle yummilious time!!

Raspberry Peanut Butter Truffles Recipe | Life's Tidbits

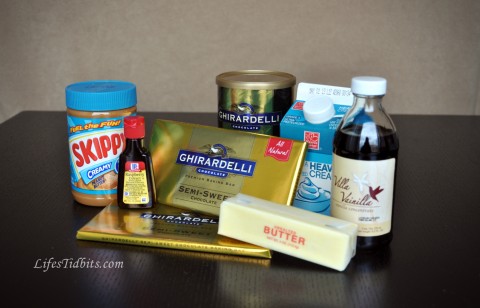
Ingredients
10 oz semisweet chocolate
1/2 cup heavy cream
2 tablespoon unsalted butter
1/2 teaspoon vanilla extract
1/2 teaspoon raspberry extract
1/4 cup peanut butter (if you are peanut butter LOVER do 1/2 a cup)
10 oz of chocolate for coating like melting chocolate

Raspberry Peanut Butter Truffles Recipe | Life's Tidbits

Directions
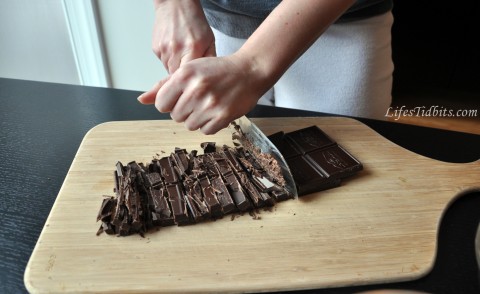
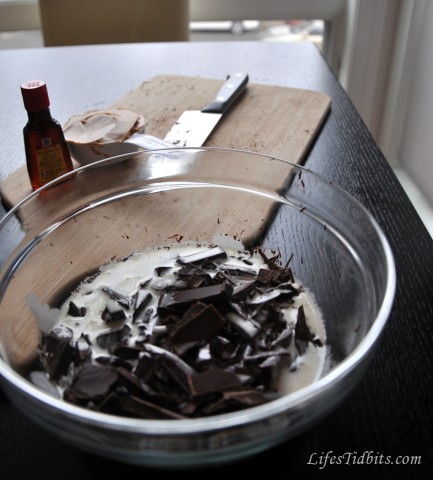
Chop the chocolate and put in a heatproof bowl.

Raspberry Peanut Butter Truffles Recipe | Life's Tidbits

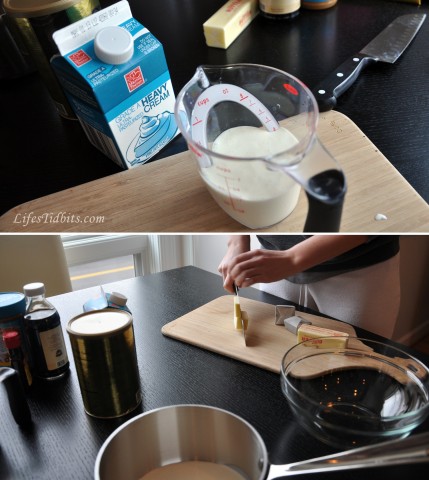
Bring the heavy cream and butter to a simmer in a saucepan over medium heat.

Raspberry Peanut Butter Truffles Recipe | Life's Tidbits

Pour cream/butter mixture over the chocolate and let sit until melted, about 10 minutes. Stir with a rubber spatula or whisk until smooth. (If necessary, microwave in 20-second intervals until the chocolate melts.)

Raspberry Peanut Butter Truffles Recipe | Life's Tidbits

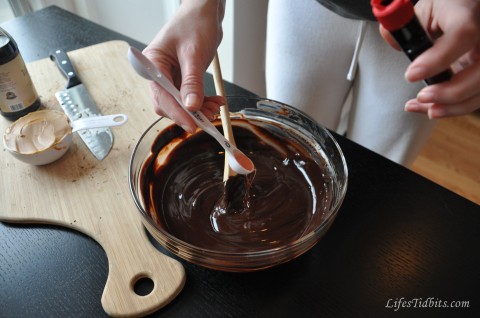
Stir in the vanilla and raspberry extracts.

Raspberry Peanut Butter Truffles Recipe | Life's Tidbits

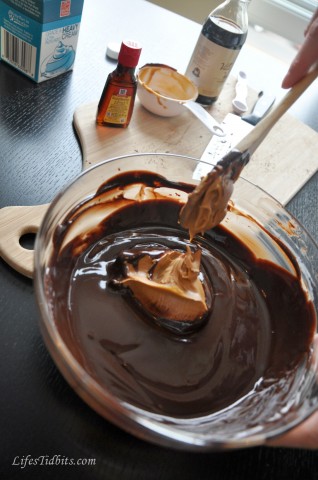
Then stir in the peanut butter. Stir until the ganache is smooth and shiny.

Raspberry Peanut Butter Truffles Recipe | Life's Tidbits

Pour into a shallow baking dish (or leave in the glass bowl as I did) and refrigerate until firm, 1-2 hours or overnight.

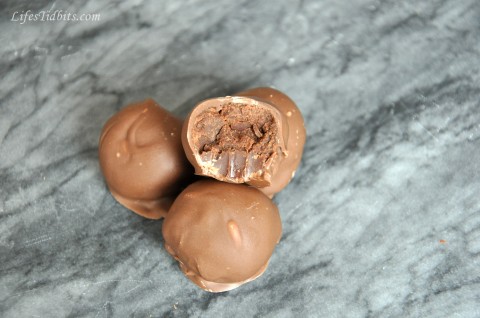
Roll tablespoonfuls of the ganache into 24 balls, then return to the refrigerator for at least an hour.  Heat your melting chocolate in a double broiler or in a chocolate melting pot.  Drop each truffle into the melted chocolate and cover completely.  Transfer to a parchment-lined baking sheet.  Place in the refrigerate until firm.  Store is airtight container until ready to serve.  I like to let them sit at room temperature for 20 minutes before serving to ensure the center is nice and gooey!!

Raspberry Peanut Butter Truffles Recipe | Life's Tidbits

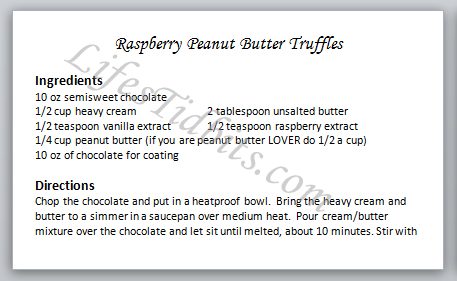
I hope you like this new tidbit!!! I’ve created an easy print recipe card for this recipe.

Raspberry Peanut Butter Truffles Recipe | Life's Tidbits

Click here for a 3×5 index card recipe card.

Recipe adapted from Food Network Magazine.

Happy Cooking!

If you enjoyed this post, please add your tidbit by commenting below.  Don’t forget you can follow us on PinterestInstagramFacebook and Twitter.

Share

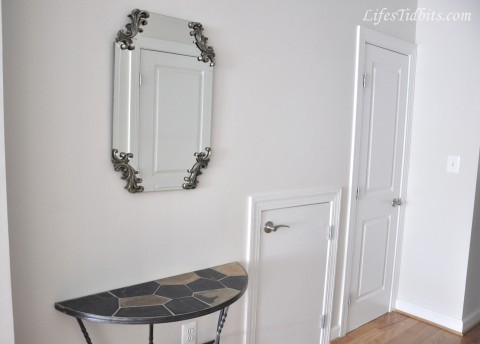
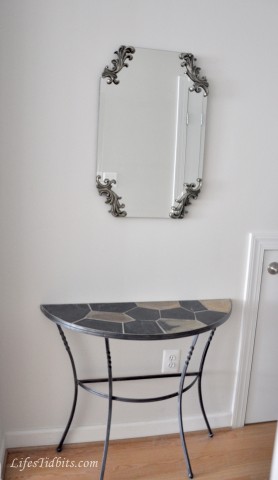
Who’s the most excited of them all?!  Oh that would most definitely be me.  As I’ve shared (here and here) we’ve been doing some decor updating in the living/dining room as well as the hallway (here and well here too).  I’m not sure if I should qualify this area by the front door as the hallway or the living room, but either way we have a new mirror on the wall!

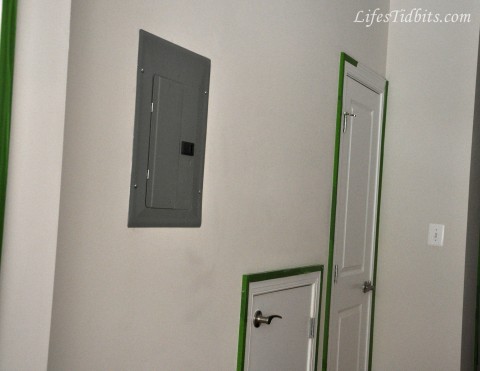
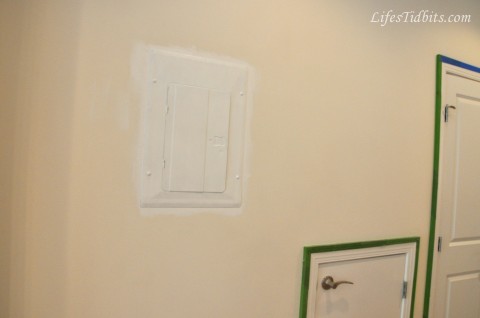
When we first move into our condo the electrical box was kind of sticking out like a sore thumb.  The dark gray contrast on the painters grade white paint was like BAM as soon as you walked in.  The plan was to find a painting or a mirror at some point to cover the box, however in the mean time we needed to make it less noticeable.  So while we were painting the living room and hallway the electrical box was also painted over.

Before:

Progress: Added a couple coats of primer on the electrical box.

I don’t have an after picture of the box painted … I’m a bad blogger, I know (hangs head in shame).  I always peruse the Joss & Main and consider buying all the great items they have.  Then one evening I found the Andretta Wall Mirror, which the husband agreed would be a go to hide the electrical box.  I waited too long and the item was no longer available … bummer!  A couple weeks later I happened upon the mirror again and decided I would purchase it as soon as the husband got home and confirmed he still liked the mirror.

Just a few days later the mirror arrived at our front door. I was shocked at how heavy the mirror was, but managed to carry it up the stairs and into the apartment.  The poor husband had barely walked through the door when I began asking (read nagging) him to hang the mirror.  Being the good natured guy he is out came the tool box and level and within no time the mirror was hanging on the wall.  =)

After:

Now I think a new chest/table with drawers for under the new mirror is needed and we will be done with this area of the apartment.  I’ve had that semicircle table since COLLEGE!  Although it has held up well, it is time for a change/upgrade.  Plus something with storage would come in handy for scarfs, gloves, sunglasses and other stuff of that nature.

For now though I am happy to have the electrical box covered and a mirror to double check my outfit/makeup as I walk out the door! LOL.

So what do you think of the new mirror?

Happy Decorating!!

If you enjoyed this post, please add your tidbit by commenting below.  Don’t forget you can follow us on PinterestInstagramFacebook and Twitter.

Share

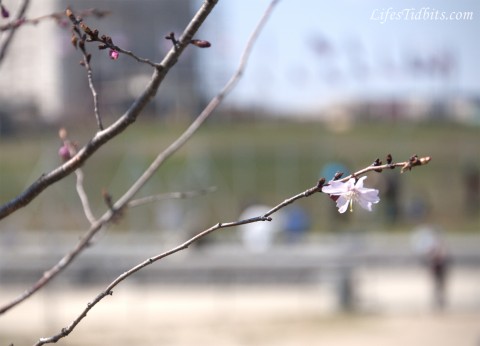
Last weekend the husband and I headed down to the  Cherry Blossom Festival.  Although we had a great time walking around, the cherry blossoms were making a pretty poor showing.  I guess we shouldn’t have been surprised given a week before it was snowing here in DC!!  I found a couple cherry blossoms that had bloomed near the Washington Monument.

The flower looks so pretty on the branch all on it’s lonesome!  I can’t wait for the rest of the blossoms to flower.  Guess when it happens we will just have to make another trip downtown. =)

Happy Friday and have a fabulous weekend!!

If you like this post, please add your tidbit by commenting below!  For more photos, please follow us on Instagram!

Related Posts Plugin for WordPress, Blogger...
Share