With Thanksgiving right around the corner I thought this would be the perfect time to share one of my favorite recipes for the holiday.  This recipe was originally posted back in March, but I felt it was throwback worthy.  By the way I’ve never been a pumpkin pie, bread, etc lover, but this pumpkin bread recipe was a serious game changer!!!  Below is the original post for throwback Thursday.  Enjoy! 

———————————————————————————————————————————————————–

My sister and I found this recipe for pumpkin bread one fall afternoon when trying to decide what to make that wasn’t chocolate chip cookies. :) Cookies are our go to hang out and watch a movie snack.  We ate nearly a whole loaf in one sitting (or really standing in the kitchen over the loaf of bread) it was THAT good!  It’s now a must have item in our family for Thanksgiving dinner.
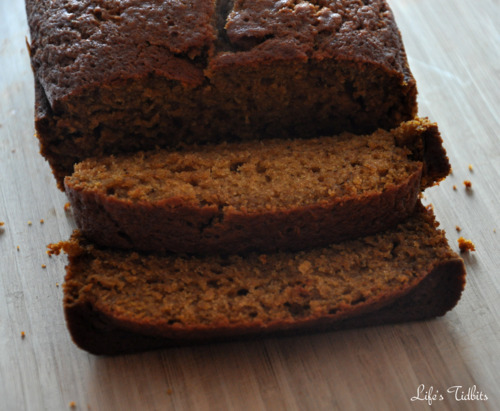
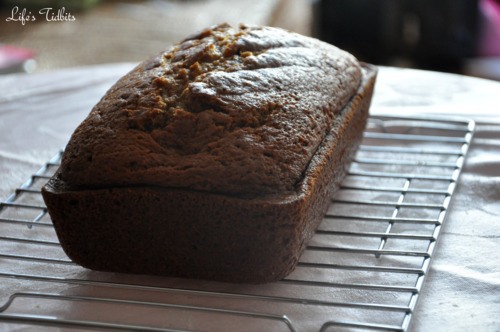
Besides the canned pumpkin most items are staples and you probably already have the ingredients in your kitchen.
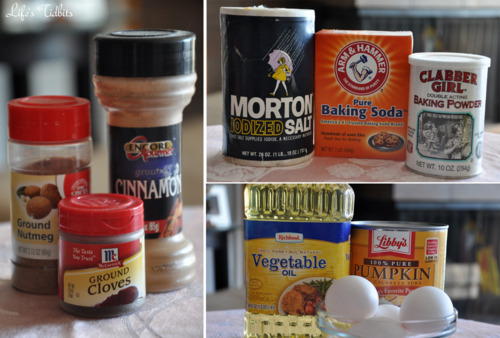
Ingredients:
2 cups canned pumpkin (or homemade pumpkin puree)
3 cups sugar
1 cup water
1 cup vegetable oil
4 eggs
3 1/3 cups all purpose flour
2 teaspoons baking soda
2 teaspoons cinnamon
1 teaspoon salt
1 teaspoon baking powder
½ teaspoon nutmeg
¾ teaspoon ground cloves
Pre-heat the oven to 350 degrees.

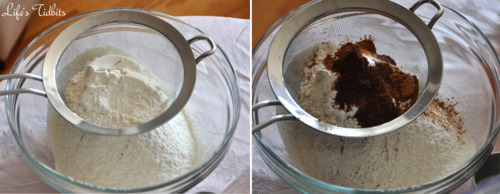
In a separate bowl sift the flour into a bowl.  On your last cup of flour add the baking soda, baking powder, cinnamon, salt, nutmeg and cloves and sift together.
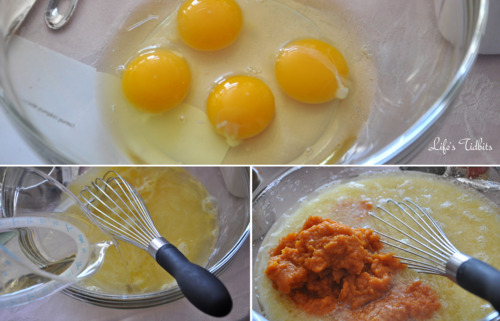
Combine pumpkin, sugar, water, oil and eggs in a bowl and beat together until mixed well.
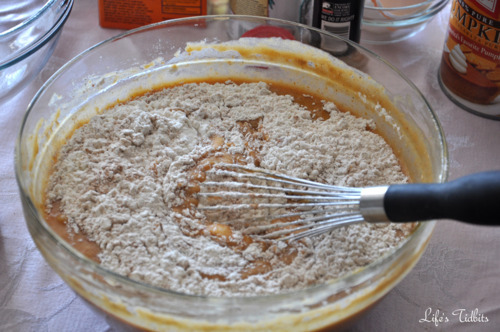
Mix the dry ingredients with the wet ingredients slowly and beat until smooth.  Unlike chocolate chip batter this batter does NOT taste good. My sister and I made the mistake of trying the batter and thought the bread was going to be terrible.  But it’s is amazing once it is cooked, promise. So just hold off on any tasting. :)
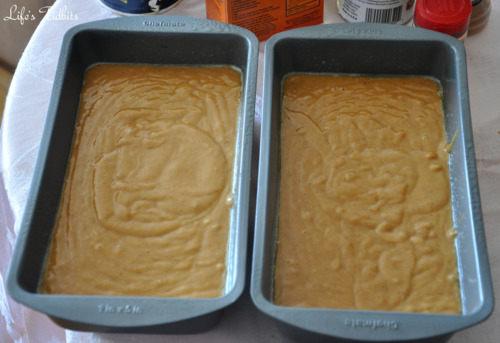
Grease two 9 x 5 inch loaf pans with Pam or any nonstick spray. For easy clean up I recommend putting tin foil in the bottom of the pans first.  Pour the batter into the 2 loaf pans and try to evenly dividing the batter between the two.
Bake at 350 degrees for 60-70 minutes or until a toothpick comes out clean.  Get ready for your house/apartment to smells OH so YUMMY as the loafs cook! Remove from oven and allow loafs to cool before cutting.
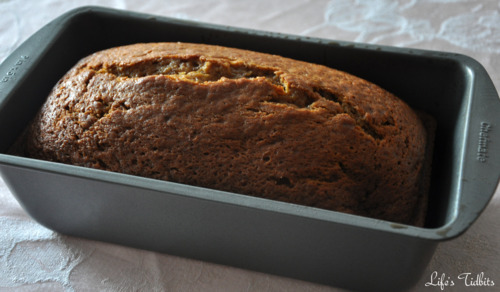
Cut and server!  And watch out because you will without a doubt eat more than one slice. :)
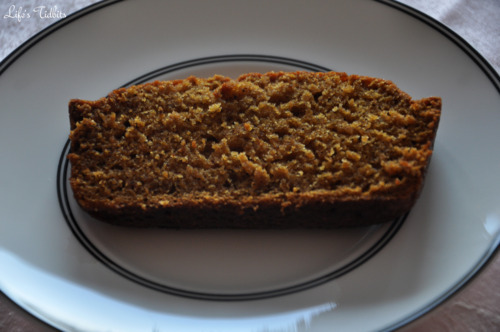
Happy Cooking!!

Don’t forget to leave your tidbit by commenting and/or add Life’s Tidbits to your RSS Reader :)

Recipe from the Kitchen of: BlogChef.net

Share

It’s almost time to call our wedding stuff a wrap, but before I do I MUST, must, must share with you my DC bridal shower.  My girls planned a lingerie bridal shower for me which was fabulous and the details were perfection.  The Newlywed Game was was pretty hilarious.   Before the bridal shower they asked my husband questions about the me and our relationship.  Then I was asked the same questions.  For each question I got wrong I had to chew a piece of bubble gum.

In the picture on the left we are all laughing and my sister is passing me some gum since I got a question wrong.  In the picture on the right I am clearly hesitant about the next question that will be asked.

Although I did pretty well I was definitely drooling because I was chewing so much bubble gum by the end of the game.  Do you see the tissue/napkin in my hand … yes I was starting to drool LOL.  That bubble gum is JUICY I tell you!  To go with the lingerie theme my cousin (who is insanely talented in the cake baking/designing department) made this beautiful cake:

I believe it is two sheet pan cakes – one for the base and one for the body – and the boobs were cupcakes.  I’ve been dying for a friend to have a lingerie themed bridal shower or bachelorette.  I would love to attempt to make this cake.  I found one blog that gave step by step instructions on how to make the cake, but it has recently been removed … POUT!  I should have copied the direction as soon as I found the blog – lesson learned.

And because one DIY baked good just wouldn’t do my sister and my mom’s friend made a second.  They made butt/lingerie cookies for all bridal shower guests.  Not only were the cookies yummy, they were so cute!  But these cookies are hard to transport.  The cookies pictured below were among the survivors from the 1.5 hour flight to DC from Boston.  Luckily they planned ahead and made extra in the event that some of the cookies broke during their travel time.  It’s strongly recommended you don’t travel too much with these little guys or they might get ruined.

So what did they need to make these cookies you might ask …

  1. Sugar Cookie Recipe
  2. Heart shaped cookie cutter
  3. White Frosting mixed with different food coloring
  4. Frosting bags and tips

I Facebooked my mom’s friend and she was kind enough to give me some tips on how to make these cookies come out right.   “I used a rolled sugar cookie dough.  Rolled it out and cut them into heart shapes. as soon as they came out of the oven, I cut off the tip end of the cookie, forming the butt part.  It was a lot of trial and error.  I tried doing that before I cooked them, but it didn’t work. they would swell and spread and not even look like a ‘fat butt’. ”  Thanks for the tips Kathy!!  Then the frosting bags were filled with tips and frosting.  From there you just decorate each individual cookie.

The husband showed up at the end of the shower to have dessert with me and all my lovely ladies.  My dad was there as well … don’t worry we wouldn’t leave him out.  :)  As folks were picking out their cookies and saying goodbye I snapped this fun picture of my little sister and husband.  I LOVE the picture and THEM!!!

The shower was SO much fun!  Do you like the cake and butt cookies?  I know I do!!!

Don’t forget to leave your tidbit by commenting and/or add Life’s Tidbits to your RSS Reader :)

Share

Before the husband and I first moved in together we decided we wanted three black and white photos for our bedroom.  We narrowed our personal photos down to a picture from the cherry blossom festival, a trip to mexico and one we took while in New York on the Brooklyn bridge.  My friend helped me use PhotoShop to make modify the color pictures to black and white.  I uploaded them to Shutterfly, clicked purchased and we were in business!

These are the pictures we chose …

The husband and I went to a couple of framing stores to get quotes on getting the pictures matted and framed.  We were looking at ~$200+ per picture for custom framing … WAY too much!  The three pictures then spent the next 2 years in a photo album.  From time to time we would revisit the idea of having the pictures framed, but never made any actual progress.  Last week we found a new location for our pictures … the hallway!  I found this post on Young House Love and was inspired.  Although I am not ready to take on the whole wall I do love pictures and have some other items that would work for a wall collage.

In any event we decide these three black and white photos were a good place to start with hallway decorations.  Since Amazon Prime is like my favorite thing I decided to see if there were any nice 8×10 matted frames on Amazon before going to Michael’s or a custom framing store.  I quickly found these picture frames and $17-18 per frame was totally justifiable and the wallet was way more comfortable with it as well!!!

After preparing for Hurricane Sandy Sunday (filling the cars with gas, getting food/water, laundry, dishes, charging every electronic we have and all that good stuff) we took some time out to hang our photos in the hallway.  It took a few tries (three to be exact) but eventually we got the two lower pictures level with each other.

It’s nice to see the hallway starting to come together.  Whether or not we decide to pursue the whole collage look for the hallway is still TBD, but at least there is something on the wall for now :)

Next up is to purchase a runner for the hallway!!

Don’t forget to leave your tidbit by commenting and/or add Life’s Tidbits to your RSS Reader :)

Share

This picture was taken when the husband and I were walking across the Brooklyn Bridge in New York.  I thought the little “love me” sticker was so cute and just couldn’t help but snap the picture.

Happy Friday!

Don’t forget to leave your tidbit by commenting and/or add Life’s Tidbits to your RSS Reader :)

Share

PEOPLE  it is Tasty Tuesday!  What are you making for dinner tonight?  Last week I love made some spicy chicken curry for the hubby.  This take on chicken curry is definitely A LOT healthier than what you would get from a restaurant.  If you don’t like spicy stuff I suggest not using any (or as much) jalapeno and use all regular curry powder instead of the hot madras curry powder.  This recipe can totally be tweaked to fit your pallet and is pretty forgiving!

Ingredients
1 medium onion, chopped
3-4 cloves garlic, chopped
1/3 jalapeno, chopped
1 tablespoon garam masala
1/2 teaspoon ground cumin
1/4 teaspoon of ground cloves
2 tablespoons vegetable oil
1 tablespoons hot madras curry powder
1 tablespoon curry powder
3/4 cup water
1/2 cup condensed milk (Fat Free will taste just as good as full fat)
5 chicken breasts, cut into chunks
Kosher salt
Steamed broccoli
Steamed white rice, for serving

Chop the onion, garlic cloves and jalapeno.  Get out all your spices so you have them ready to use.

In a food processor combine the onion, garlic, jalapeno, garam masala, cumin, and cloves. Process to make a chunky paste.  Heat the oil in a large Dutch oven over medium heat. Add the onion mixture, curry powder, and 1/4 cup water. Let fry 4 to 5 minutes.

Add another 1/2 a cup of water as well as the 1/2 a cup of condensed milk.

I like to precook the chicken on my grill pan, however you don’t have to.  Precooking the chicken adds a pan to clean, but also speeds up the overall cooking time.

Add chicken pieces and salt to taste. Bring to a boil. Simmer until the chicken is cooked through, about 30 minutes.  If you precooked the chicken I would say about 10 minutes instead of thirty.  Add the steamed broccoli to the mixture.  Serve over rice – makes about 5 servings.

Bon Appetit!!

Don’t forget to leave your tidbit by commenting and/or add Life’s Tidbits to your RSS Reader :)

Related Posts Plugin for WordPress, Blogger...
Share