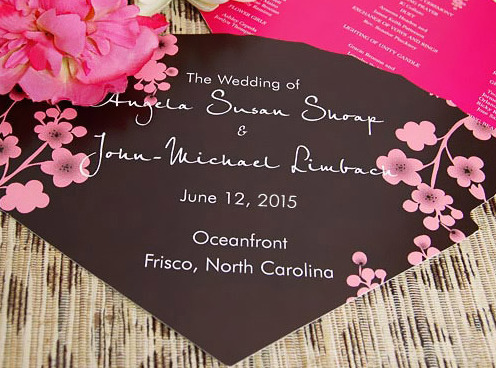
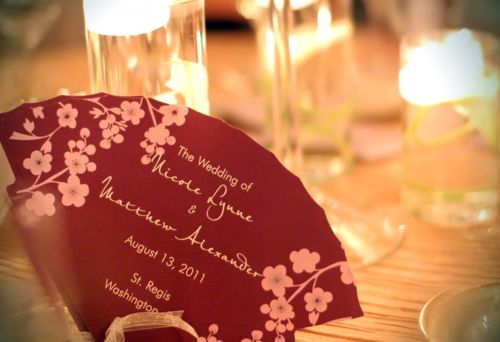
After making our wedding invitations, calligraphy envelopes and then rehearsal dinner invitations oh and the escort cards I figured why not make the menu cards as well?!?!

We went back and forth about having 2 menu cards per table or a a menu card for each guest.  In the end since the cost difference was minimal we decided to go for a menu card for each guest.
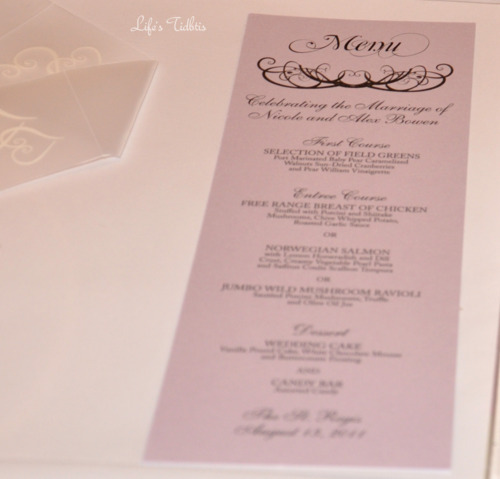
DIY Wedding Menu Cards | Life's Tidbits

What you need:

Paper cutter, Printer/Ink, Card Stock and Photoshop or MS Word

Menu cards are one of those things you can do ahead of time, but no too far ahead. It’s important to have had the tasting and finalized the WHOLE menu.  If the menu isn’t finalized then some reprinting might be in your future.  When using PhotoShop my suggestion is to paste the menu text into MS Word first so everything is spelled correctly.  Even with my husband and I both double checking the menu card we missed a spelling mistake and had to reprint a number of menus. :(  Thank goodness one of the bridesmaids caught the mistake!  Oh and don’t forget to figure out approximately how many menu cards are needed. I made a few extras just incase.  The extra menus weren’t used, but it was nice to have a “clean” one for the wedding scap book!

Menus come in all shapes and sizes.  An important thing to consider when deciding on a size is will it be big enough to fit all the text.  We had three entree choices (fish, chicken and vege), which took up a lot of room on the card.  I went with long thin menu cards – 3.5 by 11.  Partly this was because of the text length, but honestly it made for easy paper cutting as well … one cut and done.

For the wedding and rehearsal dinner invitations I did the paper cutting after the printing. For the menus I cut the paper first and then did the printing.

I didn’t really have a menu “inspiration” card, however I did reference the menu cards of weddings I had previously been to. I decided I wanted a small image/graphic at the top and then the rest of the card to have a clean look. To tie the menu card in with the rest of the wedding paper items I re-used (FREE!) fonts: Mutlu Ornamental and Adobe Pro – from the Wedding Invitations and Allegro – from the DIY Calligraphy Envelopes.

We also used the same type of paper from the wedding/rehearsal dinner invitations, but in a different color – light purple!  The light purple looked great with the gold table clothes and sterling silver roses on each of the tables.  Here’s how they looked:

Photo credit: Korie Lynn Photography

I went back and forth on rounding the edges of the menu, but in the end my mother and husband liked the non-rounded look better.

My tips are pretty much consistent with other printing related projects I’ve blogged about:

  • Print on High Resolution
  • Spell check!
  • Print tests on white paper before doing a test on your nice card stock.  White paper is far less expensive!
  • Don’t wait to the last minute.

Happy DIY and Wedding Planning!!

Did you make your own menus? Any tidbits for other brides you can share?

Don’t forget to leave your tidbit by commenting below! :)

Share

After spending three days in Positano, Italy we had a driver pick us up and take us to our next destination … Sorrento!

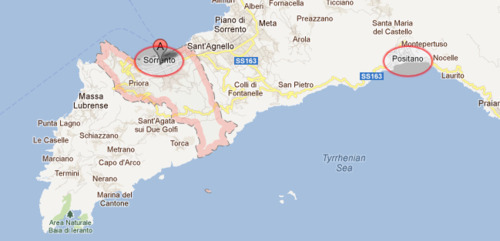
Google Map of Sorrento, Italy | Life's Tidbits

The plan was to stay here the shortest amount of time and therefore find the cheapest place we could.  We ended up staying at a cute little B&B on the main strip.  We had decided to do a lot of sightseeing while in Sorrento so we were less concerned with staying at someplace “fancy”.  Besides sleeping at night we weren’t really in the room so it worked out perfectly.  This B&B was in walking distance of the port, train and a ton of restaurants.

Day 4:

We arrived at the B&B, checked in, and went ahead and changed.  We walked around town a little and headed down to the port to catch the ferry from Sorrento to Capri.

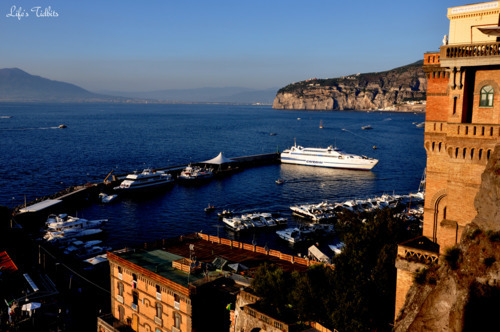
Honeymooning in Sorrento, Italy - ferry from Sorrento to Capri | Life's Tidbits

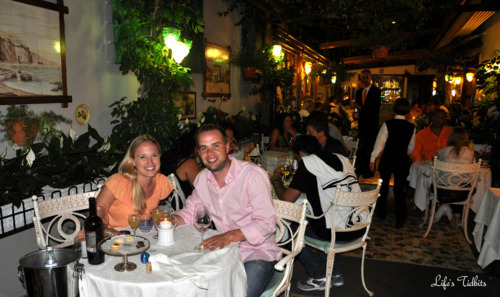
Once we arrived in Capri we had a horrible lunch (pizza & beer) at a “restaurant” near where the ferry dropped us off.  Due to poor planning and arriving at siesta time we missed seeing the Garrato and ended up taking a bus to Anacapri city.  The city was unfortunately pretty much shut down.  We walked around for a while and then took the bus back down to the port. If you plan to explore Capri make it there early in the day.  Our poor planning lead to a less than amazing day.  Dinner however made up for our so-so day! After looking through TripAdvisor reviews for a long while my husband found Ristorante Bar Parco Ibsen.  This place seemed a little weird as we walked down the path, but it was so romantic and the food was A-MAZING!

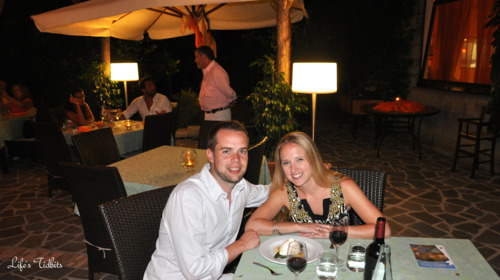
Honeymooning in Sorrento, Italy - Ristorante Bar Parco Ibsen | Life's Tidbits

After a fantastic dinner we randomly walked past someone handing out  brochures  to see some new ruins.  Although it was still “under construction” it was a fun way to spend 30 minutes.  A little impromptu sightseeing!

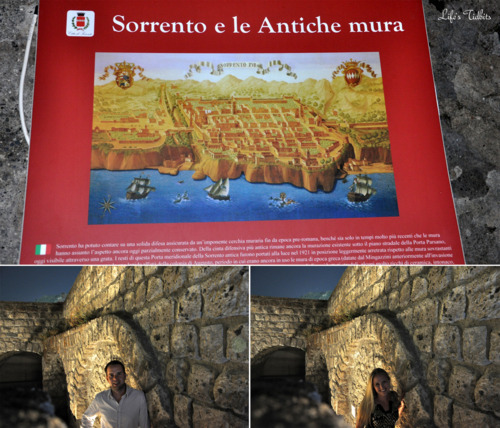
Honeymooning in Sorrento, Italy | Life's Tidbits

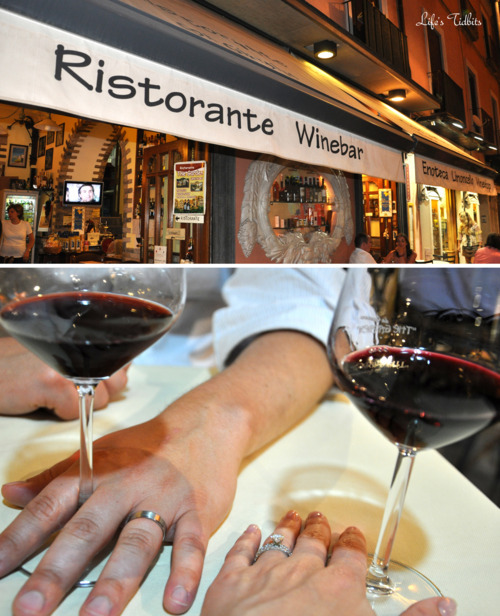
Despite our plan to head directly to bed, so we could wake up early for the trip to Pompeii, we ended up at a little wine bar just down the street from the B&B.  It was crazy – the whole main strip had been closed to traffic and people were mulling about. It was so much fun to people watch and have a glass of wine.

Day 5:

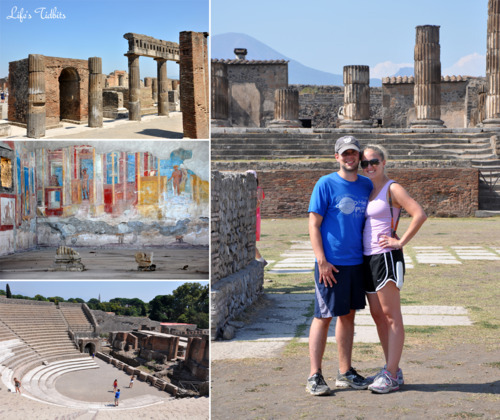
It’s our one week anniversary!! We totally overslept, but managed to rally and get to the train station. After a fairly quick train ride we arrived at Pompeii.  My husband is super into the whole historical thing so we rented audio guides and headed off to see the ruins.  One thing to note is we forgot to pick up a map! Seriously navigating around without a map proved to be difficult, but neither of us realized our mistake until it was too late.  Thank goodness we have the Rick Steve’s book with us, which included a mini map of Pompeii.  We spent the day wondering around Pompeii (and sweating a lot … Italy in August is HOT!).  The husband was definitively way more into the whole experience than me, but overall it was a great day.

Things to do in Sorrento, Italy: View Pompeii for a day. Honeymooning in Italy | Life's Tidbits

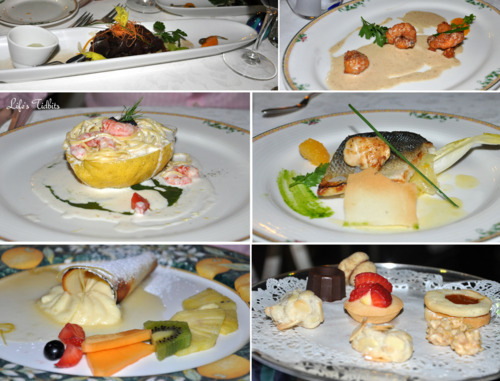
Clearly since it was our one week anniversary we figured we should splurge on dinner.  So we chose L’Antica Trattoria restaurant for dinner and ate a 7 course meal.  It was WAY too much food, but it was also fantastic so C’est la vie.  My favorite course was the pasta and shrimp with a lemon sauce served in a lemon!

Honeymoon: L’Antica Trattoria restaurant in Sorrento, Italy | Life's Tidbits

Honeymoon: L’Antica Trattoria restaurant in Sorrento, Italy | Life's Tidbits

After dinner we rolled back to the B&B and hoped into bed.  It was a long fun day, but we needed to rest up for tomorrow when we would be boarding the train for a long ride to our next destination.  I think one more day in Sorrento would have been nice. That way we could have explore Sorrento itself a little more.  This is someplace I would definitely like to return to one day.

Caio! See you in Cinque Terre!

Happy vacationing.

Share

I know I am a bad blogger and I still haven’t told you about how we made our own wedding invitations, but that DIY project was a HUGE undertaking. Honestly, I’m not completely sure how to walk you through the process step by step … YET.  So instead I started thinking maybe I would just begin by sharing our DIY rehearsal dinner invitations.

After determining the location, invite list and all that fun stuff for the rehearsal dinner I decided we (the husband and I) should DIY own rehearsal dinner invites.  We had left over card stock from the wedding invite inserts as well as extra envelopes (from our DIY Calligraphy).  I mean it would have been such a waste not to take advantage of the left over paper materials, right?!?!?! ;)

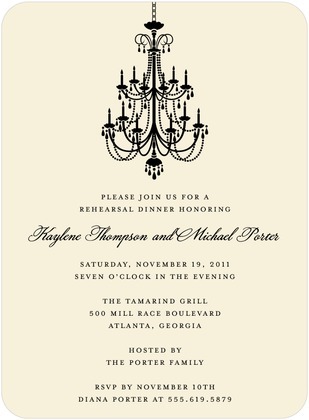
Early on I found Wedding Paper Divas. They have fabulous invitations for various occasions, in fact it is the website we purchased our save the dates from.  I quickly found this rehearsal invitation, which served as my inspiration for our DIY invites.

Image Credit: Wedding Paper Divas

What you need:

Photoshop has a 30 day FREE trail you can download.  We used a 30 day trial to create the initial draft of our wedding invitations. In the end we ended up purchasing Photoshop.  We planned to use it not only for wedding stuff, but also for my budding photography hobby!  If you plan to go the 30 day trial route, make sure to save the final version of your invitation as a PSD, JPG and TIFF file. This will ensure you are able to print the design even after your trail expires.

To ensure we could use some of our left over envelopes, I knew the invitations would need to be 5×7.  Once I had the size I found a free image online of a chandelier and downloaded it. From there I Googled rehearsal dinner text and placed it on the initial version of the invite.  After that it was just a matter of finding a layout we liked as well as fonts.

The majority of the text is in a renaissance font, which is free to download!  Then for our names I used the same font we used on our invitations for our names, again a free font you can download.  I felt using a little of the same font as the wedding invitations tied everything together.

I didn’t take a lot of pictures of the process, which is a bummer, so I can only really describe what I did.  I printed two invites on each piece of card stock and then used my handy dandy paper cutter to make them 5×7. I printed a number of test versions on plain paper before using the card stock.

This is one of the test versions, please excuse the crappy blackberry camera shot:

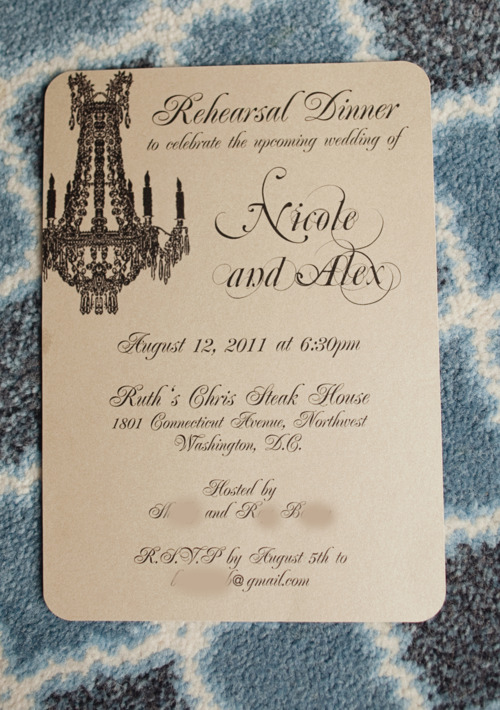
I had printed almost all of the rehearsal dinner invites when I remembered I had purchased a paper rounder punch. I decided to go ahead and use one of my test invites and round the corners to see how it looked.  I ended up loving it and the husband was in agreement.  A bunch of punches later we had rounded edges instead of sharp corners.

Here’s what the rehearsal dinner invitation looked like totally finished:

Here are a couple of extra tips:

  1. SPELL CHECK!
  2. Print test versions on plain white paper before doing a sample on your nice card stock.
  3. Print using High resolution.
  4. Make sure you have enough paper.  You will need extra for test prints as well as if you detect a mistake. Or if like me your ink cartridge starts to die so some invites are better than others.
  5. Start early.  Even though you don’t have to print as many rehearsal dinner invitations as wedding invites (usually) they still take time.  Better not to be up against a deadline.

Happy Planning!

Don’t forget to leave your tidbit by commenting below :)

Share

That was the BIG questions!

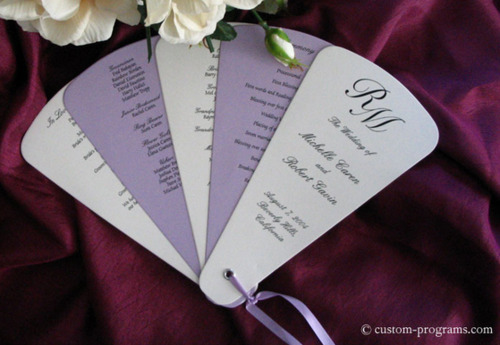
I became slightly obsessed with the whole DIY thing for the wedding and wanted to make my own wedding programs.  And not any programs, but FAN programs that looked like so:

Photo from http://cherishpaperie.com/faq/programs

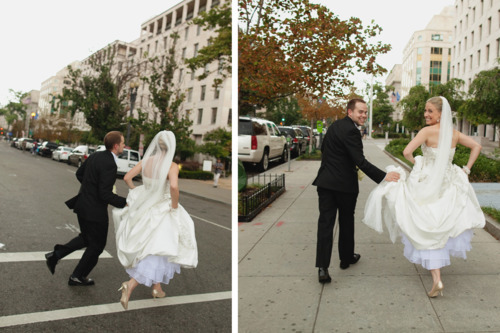
I honestly thought getting married in August with a courtyard ceremony meant everyone would be sweating to death while we walked down the aisle and said our vows.  Little did I know it would torrential down pour that day and the beautiful courtyard ceremony I had pictured in my head would never happen.  Oh poor me … I mean getting married in a beautiful hotel really is the pits, isn’t it?!?! wink wink!  Here we are running from the white house back to the hotel as the rain clouds took over the sky.  So glad we got a few pics at the white house in between the rain!!

Photo Credit: Korie Lynn Photography

Okay so enough about my non-courtyard ceremony and back to the wedding programs.  My mother was a bigger fan of these fan programs because of the embossing:

Photo from fan-wedding-programs.com

We honestly went back and forth SO many times about what the programs should look like.  My husband pretty much drew the line at another DIY project.  He thought making our wedding invitations was enough.  Not to mention the DIY escort cards, rehearsal dinner invites and menu cards.  With another DIY project out the husband said whatever made me happy would make him happy for the programs.  My mother and I went back and forth a number of times.

It soon came to the point where no matter where I ordered the wedding programs from I was going to have to pay for rushed shipping.  Most of them were set to arrive with standard shipping the Friday before our wedding.  Clearly that was just WAY too close to the wedding to chance it.  I finally found these:

Photo from beau-coup

The husband was on board, so was my mom and the MOH (my sister)! Win, win, win!! With everyone in agreements I ordered the programs immediately.  Luckily it arrived without any incorrect spelling!!  I’m not going to lie the purple color wasn’t exactly what I had envisioned, but I still loved how they came out.

Photo Credit: Sara without an H

The programs came with little holes in the bottom.  I purchases sparkly white ribbon (from Michael’s) to put through the hole.  My mom and dad spent a couple hours cutting the ribbon to size and putting them on the programs the Friday before the wedding.  Nothing like me waiting until the last minute! :)

So my advice to you – please order wedding programs at least a month or two before the wedding.  AND know your limits. DIY is awesome and all, however if you don’t your limit you will over extend yourself (and loved ones) instead of enjoying the projects they will end up stress you out.  I’m glad my husband knew where the line was for me. =)

Happy wedding planning!

Don’t forget to leave your tidbit by commenting below :)

Share

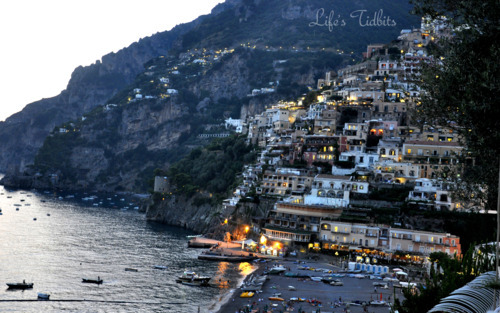
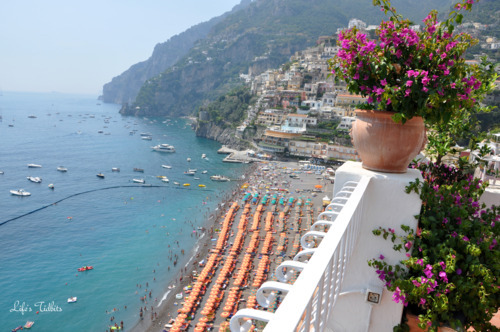
Our two week honeymoon began in Positano, Italy.  It is towards the southern end of Italy and has some fantastic views of the Amalfi Coast!  Positano also has beaches which was a must have for the first stop on our honeymoon.

Screen Shot of GoogleMaps

We decided to splurge a little in Positano. It was our time to relax, soak in being married and decompress after all that wedding planning.  We spent an evening researching hotels in Positano using TripAdvisor and Rick Steve’s guide.  When we finally stumbled upon Hotel Marincanto; I was immediately sold.  The pictures showed phenomenal views and was within walking distance of the beach!

After a red eye flight from DC to Paris and finally to Naples we arrived excited, but exhausted.  Luckily my husband had hired a driver to take us from Naples to Positano.  The streets are crazy windy and narrow. I was VERY happy to not be driving myself in a foreign country while totally exhausted!!  Hiring a driver was probably one of the best decisions we made.

Day 1:

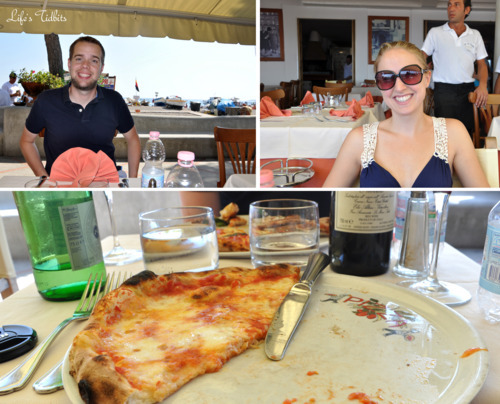
We arrived in Positano and checked into the hotel.  We were both STARVING so we changed quickly and walked down to the beach.  Unfortunately we arrived at a weird time and had to walk around for a while before finding a place serving food.  We stumbled upon Le Tre Sorelle.  It had the MOST amazing pizza.  The best pizza we had all vacation.  Seriously I dream about this pizza it was so good. We went all three days for lunch.  Ok I think you now get how amazing the pizza was!

Honeymoon in Positano Italy. Favorite restaurants and places to stay | Life's Tidbits

After lunch we walked around and then retired to our hotel for a siesta.  After a much needed nap we watched the sunset on our balcony.  Such an amazing view!

Honeymoon vacation Positano, Italy | Life's Tidbits

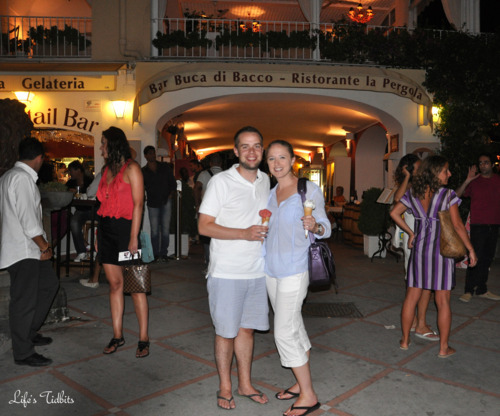
For dinner we went to Ristorante La Cambusa.  It was okay, but nothing to write home about.  For our first night it was fine, but I’m assuming there are other better options for your first evening in Italy!  My husband had been instructed that when you pass a gelato place you stop … always.  So as we strolled (or really rolled) back towards the hotel we stopped for our first taste of gelato.

OMG the lemon gelato was to die for and totally worth feeling extra stuffed.  :)  Off to bed we went excited to spend the entire next day at the pool or beach!

Day 2:

Reading, sun tanning and have a beer by the pool took up the whole day!  We couldn’t have asked for more perfect weather.  We chose to stay by the pool instead of going to the beach where we would have to rent mattalas.  Considering the beach was rocky there wasn’t any real need to be there when we had a gorgeous pool at our disposal, plus the view is so perfect from the suntanning patio.

Honeymoon vacation Positano, Italy | Life's Tidbits

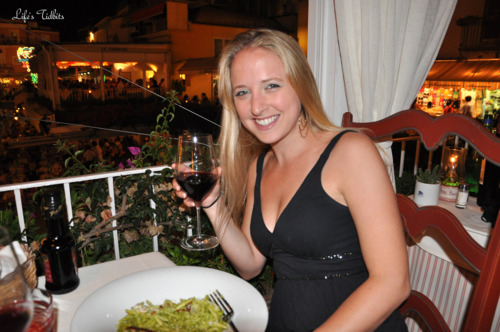
We made the trip down to the beach for lunch at Le Tre Sorelle.  When it was time to make some decisions about dinner out came the iPhone and directly to Trip Advisor app we went.  Buca di Bacco had some good reviews and we remembered walking past it the night before.  Boy did it not disappoint.  The mozzarella melted in our mouths and the gnocchi was the best we’ve ever had.  If I remember correctly it was called Sorrento gnocchi.  Either way have it if you ever go it was to die for.

Sorrento Gnocchi and tomato salad in Positano, Italy - Traveling, honeymooning, vacation | Life's Tidbits

The night ended with a “gelato cap” and was the perfect end to our second day.

Day 3:

The day was very much like day 2.  Time at the pool and then off to our favorite (and only) lunch place in Positano.  We were sad our time in Positano was coming to an end.

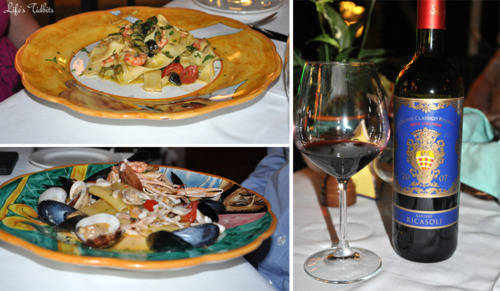
Our last dinner was at Ristorante Covo Dei Saraceni.  It was an amazing choice for our last night with top notch seafood and pasta!

Food and wine in Positano, Italy - vacation, honeymoon, traveling | Life's Tidbits

We made friends with a couple who was also honeymooning at the table next to us. It turned out that the woman works in my hometown as a school teacher.  What a small small world we live in!  After dinner we hit up a new gelato place and ended up getting the lemon gelato for the third day in a row. Some how it just didn’t get old.

Ciao and see you in Sorrento!

Happy vacationing!!

Signiture_Nicole


Related Posts Plugin for WordPress, Blogger...
Share