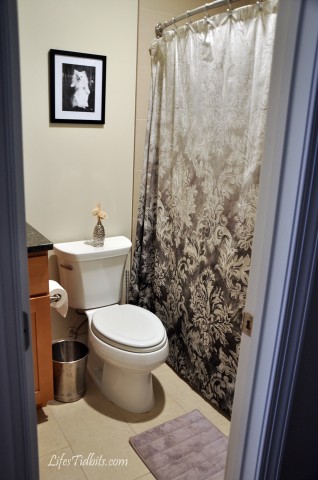
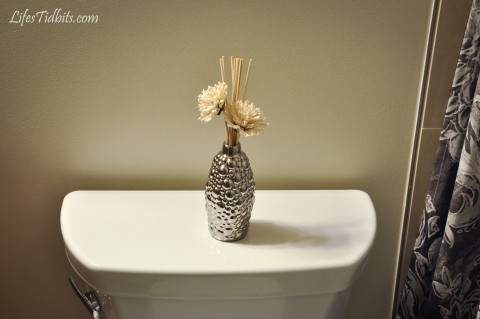
It is no surprise our guest bathroom is the first to be completed.  It was the first room we painted, purchased an accessory for and probably the smallest “area” within the house.  Before we moved into the condo my mother took me shopping at Home Goods for the VERY FIRST time ever!  Can I just say I love that store?!  I purchased a little vase and fake flower arrangement I thought would be perfect for the back of the toilet seat.  It was the first accessory for our new place and a first for the bathroom as well.  The bathroom came together slowly, but when we hung the final picture behind the toilet and the guest bathroom project was officially a wrap.

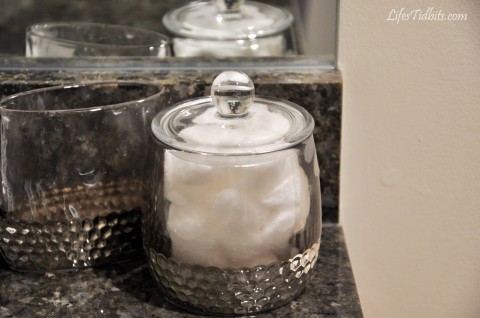
A few weeks after painting the bathroom I finally went to Bed Bath and Beyond to purchase a shower curtain and bath mat.  We had guests (my family) coming into town and we couldn’t very well have them shower without a curtain or mat!  While my family was in town us girls went on a little shopping trip.  We went to Pier 1 Imports and purchased the balcony furniture, but before that we hit up Home Goods.  At Home Goods we found the bathroom accessories!  Slowly but surely the bathroom was coming together.

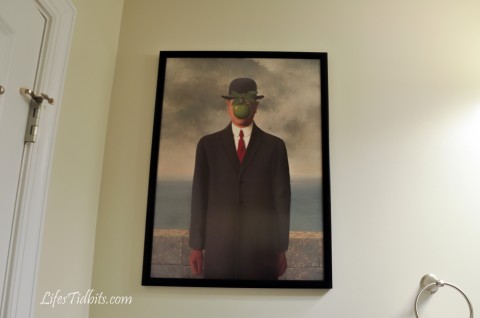
The Son of Man painting like so many other things was sitting in our spare bedroom waiting for us to find  the perfect place for it in the new house.  In our first apartment together it hung in the living room and in our second apartment in the hallway near the front door.  Now it has found a home in the second bathroom!  The green apple ties in perfectly with the light green paint.

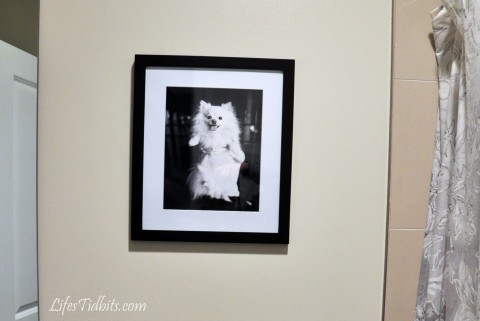
All we had left to do was find some painting or picture for behind the toilet seat above the little fake flower arrangement.  After we hung the hallway pictures the husband and I decided to purchase the another picture frame from Amazon for the bathroom.  My husband actually made the suggestion as to which picture should populate the new frame.  I was well, pleasantly surprised!!  He suggested we use a picture of Sophi, our dog, from our engagement session.  She looks so cute and happy in the picture.  I used PhotoShop to turn the colored picture to black and white.  Uploaded the picture to Shutterfly, ordered and a few days later we were in business.

So the guest bathroom if officially decorated!  BUT here’s the things as I started writing this last paragraph I realized there were other things needed for the bathroom … seriously decorating never seems to be really finished.  So what else could we possibly need you might ask?  New towels that match our new fancy bathroom.  Towels are at the bottom of my home shopping list, therefore I still feel comfortable saying the bathroom is a wrap!

What was the first room you finished decorating in your place?

Don’t forget to leave your tidbit by commenting and/or add Life’s Tidbits to your RSS Reader :)

Share

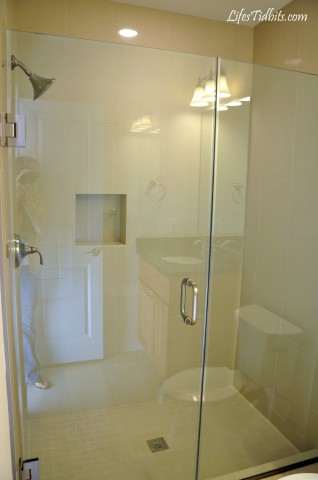
Although I love the glass shower in the master bathroom we noticed very quickly after moving in that it leaks … A LOT.  You couldn’t tell while you were showering, but when you picked up the bathmat there was water underneath.  It was a little annoying, but honestly it was more than that … it was frustrating.  We tried pointing the shower head towards the wall however that didn’t really help.  Plus who wants to shower so they are shielding the water from the door with their body!?!?!

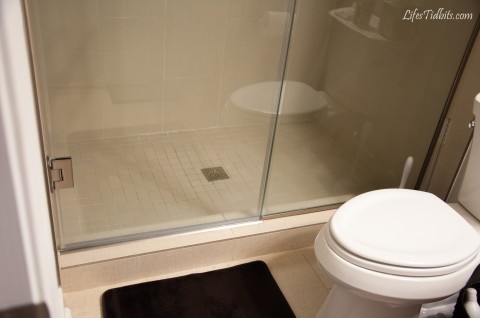
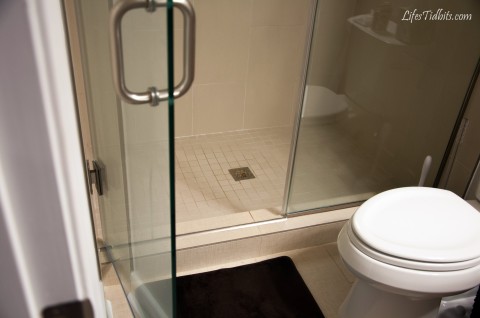
When going through my condo pictures I realized I don’t have one that includes the very bottom of the shower, but you get the idea.  I didn’t realize until I started editing this picture you can see me (and my camera) in the reflection of the glass.

The husband has become quite handy at fixing things around the house, and this little problem we had was no different.  He did some research and determined all we needed was a 1/2 rounded threshold bar.  We (read he) could easily install this fix without having to hire anyone!

This fix required us to purchase a few things.  Here’s what we purchased:

For under $25 we got everything we need and using Amazon Prime it arrived in two days.  It took about an hour to measure, cut, level and seal the bar in the shower door threshold.

The new threshold is doing its job perfect!  No more water leaking out all over the bathroom floor or soaking the bathroom mat!!

Happy Home Improvement!

If you like this post, please leave your tidbit by commenting below!

Share

After painting the guest bath, master bedroom and the living/dining room the only thing left to paint was the master bathroom.  We had agreed to leave the builder grade paint in the guest room until we decide exactly what we plan to do with that room.  The guest room is pretty much a landing zone or storage room at the minutes, which clearly isn’t ideal.  Anyways, similar to the living/dining room choosing a color for the master bath wasn’t easy.  We ending up going with a color that’s a shade darker than our living/dining room after putting couple different samples on the wall.

Once we were pretty sure we wanted the color we put a big color swatch on the wall.  Do you see my reflection in the shower?  Hahaha I was attempting to document the process.

After painting the guest bath we knew that the correct paint to buy was semi-gloss.  We “assumed” the guest and master bath were approximately the same size we purchase 1 quart of paint.  We were well, WRONG!  The master bath is slightly bigger so we really needed two quarts of paint.  Back to the store I went to pick up the extra quart.  Then something disastrous happened.  We started painting the remaining wall and somehow the color just was NOT the same. I really don’t know what happened … the husband and I stood there looking at the wall and then at each other and we were seriously PERPLEXED.  In any event it was unanimous that we needed another quart of this paint in an effort to resolve the issue.

Back to Sherwin Williams we went to purchase our THIRD quart of this paint.  We were so excited to get home and make that final wall match all the rest that we  pulled out all the painting supplies and got to work.  Clearly this damn bathroom just didn’t want to be painted … I’m not sure how it happened by the roller started shedding and the wall started to look all textured.  At this point we were so perplexed I didn’t even think to break out the camera to document the disaster that was unfolding.  We attempted to wipe the wall down with paper towels and start over, but that was an epic fail leading to an empty paint can and a textured wall.

After letting the wall dry and sanding it back to “normal town” we were ready to being painting the dreaded wall again.  SOOOOO back to the paint store we went for a fourth and final time.  The husband goes in to buy the paint and when he got back to the car he looked a little defeated …

Me – “What’s wrong?”

Husband – “The just asked me if I was aware of how many quarts of the same colored paint we’ve purchased.”

Me – “Too many … but it wasn’t our fault there were so many issues.  Didn’t you tell him all the issues we had.”

Husband – “Nope.  Just told him I was aware we should have purchased a gallon at the start of this project.”

Me – “Oh okay then.”

My poor husband was so horrified that we had to purchase so many quarts that he wouldn’t own up to the issues we encountered when the sales man pointed out we purchased incorrectly. :)

After the fourth quart of paint we were FINALLY able to fix the remaining wall and put a little extra paint on the other walls. Unfortunately I haven’t master the process of having paint colors show up correctly in pictures when there is zero natural light.  Therefore there is no great “after shot”.   Sorry :(.   It was SO nice to call that project a wrap after four tries LOL.  Overall I love the color of the bathroom.  Now I am on the hunt for a new bathroom mat and accessories.  Somehow the to-do list never seems to dwindle!

Happy home improvements!

Don’t forget to leave your tidbit by commenting and/or add Life’s Tidbits to your RSS Reader :)
Share

Before buying our condo I had never painted any of the places I had rented.  The only thing I remember painting was a fake wall my roommate and I had (frat boys) put up in the living room of our one bedroom apartment to make it into a two bedroom.  Funny thing about that, my friend and I only painted the part of the wall that wasn’t covered by the couch … can you say college standards?! :)

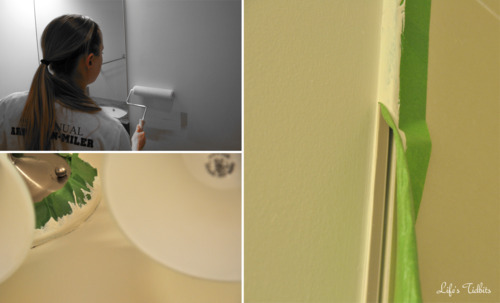
My husband on the other hand has painted before and was good about giving me tips.  He said to only put about an inch of paint into the pan and to make sure the whole roller has paint on it before painting the wall.  Then there was the tip to roll slowly at first to avoid excess paint spraying on things not covered or taped.  These were all great tips!  The one thing neither of us knew was what kind of paint finish is suggested for different rooms.

The counter top in the bathroom has green tones to it so I knew I wanted to go with a green paint in the guest bathroom.  Here’s the first green we considered, but it was too bright for the bathroom:

After slapping two more greens up on the wall there was a clear winner.  I seemed to have missed taking a picture of the other two colors we put on the wall.  We decided on Benjamin Moore Old Prairie (2143-50).  A whole gallon wasn’t necessary for a small bathroom so I was to buy a half gallon (two quarts really since a half gallon wasn’t an option at this particular store).  The first Saturday after becoming homeowners my husband was busy taping and prepping the condo to be painted.  Therefore I was on go to the store/run errands duty. Off I went to the store feeling really good about what I needed to buy.

The man at the store was less than helpful. He started by trying to up-sell me and I got completely confused on what I needed/wanted.  Eventually he took my order for the paint and then asked what finish I wanted. I said “ummmm well ….” to which he handed me a finish card to look at. I immediately remembered my friend saying samples come in flat, but get eggshell when you actually paint.  Done and done, paint mixed and purchased.

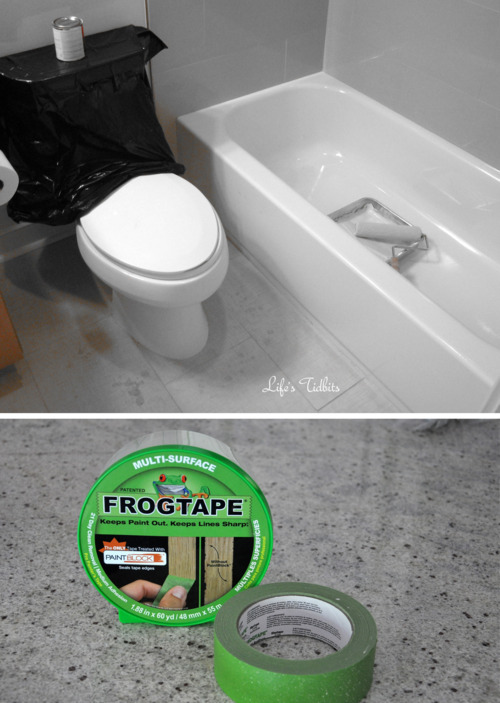
While I was gone my husband taped the bathroom and got it ready to be painted.

When I got home we painted the bathroom our new light green color.  On my next trip that same day to the same paint store to buy paint for the master bedroom, I overheard someone talking about which finish to use for the different rooms.  Keep in mind this information wasn’t on the finish card and the guy helping me didn’t offer up any narrative as to what finish to use.  As I hear the words bathroom and semi-gloss in the same sentence I start to freak out.  Have we just painted the bathroom the with the wrong finish??

When I got back to the new place I shared this tidbit with my husband. Out comes the iphone and Googling begins. Sure enough we painted the bathroom with the wrong finish.  We debated if we should spend the money and the time to repaint the bathroom the same color but in semi-gloss or just go with what we already had on the wall.

In the end back to the paint store we went to purchase a quart of the semi-gloss.  Apparently even a 1/2 gallon was too much paint for the guest bathroom.  Since the bathroom was still taped we decided it was best to repaint the room now.  Doing it right now would save us the hassle of repainting the room in 6 months if the eggshell wasn’t holding up well.

The repainting took less time since there was already a base coat on the walls.  In the end I actually liked the look of the semi-gloss better than the eggshell in the bathroom.  I’m SOOO glad we took the time (and money) to correct the painting finish error.

The husband did a great job on the taping and when we pulled the tap off the lines looked fantastic!

Interested in learning about what paint finish is suggested for each room? Click here for details about paint finishes. This website would have come in handy if we had done some research before slapping paint up on the wall!!  Lesson learned. :)

Guest bathroom painting completed … master bedroom, master bathroom and living/dining room as well as hallways to go.  Painting is time consuming, but the place is starting to have a more homey feel to it!!  Now we just need a shower curtain, mat and accessories and the guest bath will be complete.

Happy painting!

Have you had any similar painting mishaps?

Don’t forget to leave your tidbit by commenting below :)

Related Posts Plugin for WordPress, Blogger...
Share