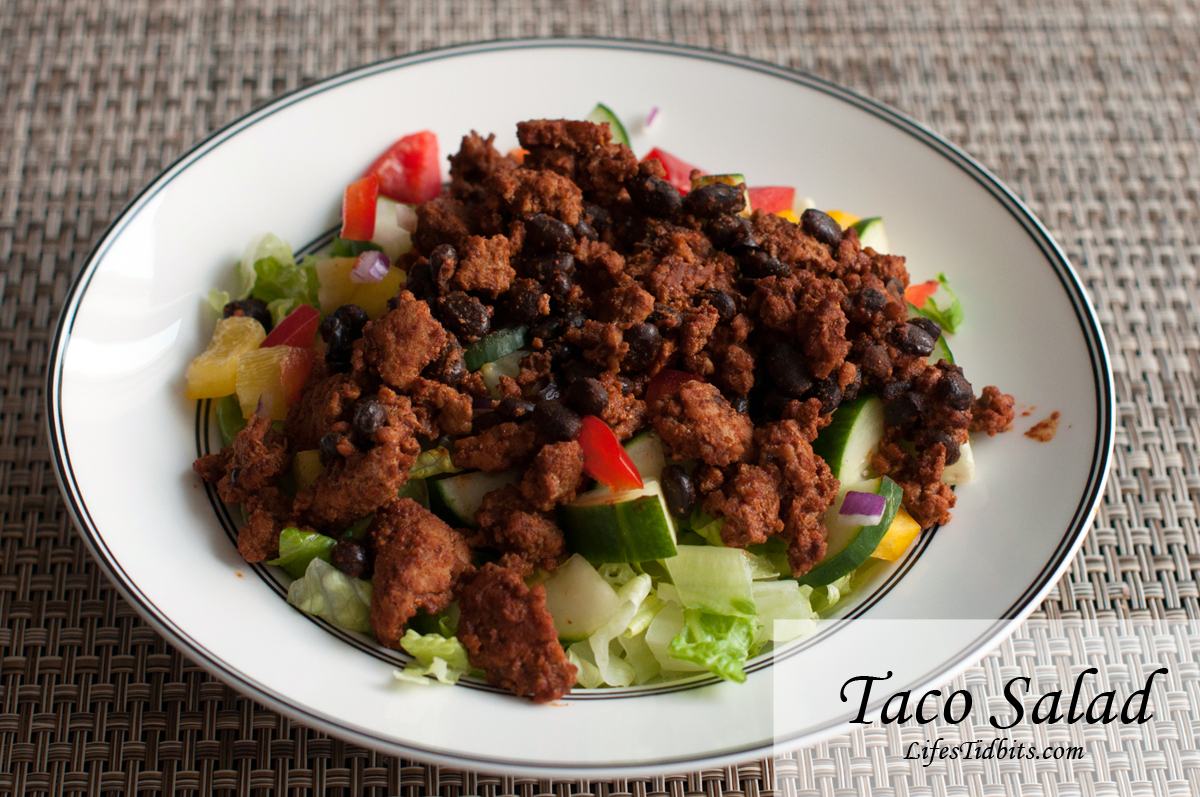
I was on the search for taco seasoning from scratch when I found the recipe below.  I like the seasoning you can buy at the grocery store in the package, but I felt it had to be easy enough to make from spices we already had in the house.  This recipe is SUPER easy to make and is perfect for dinner as well as lunches!  All in all the recipe is very healthy.  I ate A LOT of taco salads when I was doing the whole wedding / weight watches diet a couple years ago.  Although I got a little taco salad’ed out in 2011 it is still a go to dinner in our house every couple of weeks.

TacoSalad

Ingredients:
Salad
1 can Black Beans
1 pkg Ground Turkey

Taco Seasoning –
2 tablespoons chili powder
1 tablespoon ground cumin
2 teaspoons cornstarch
2 teaspoons kosher salt
2 teaspoons paprika
1 teaspoon ground coriander
1/8 to 1/4 teaspoon cayenne pepper (depending on how spicy you want it)

Directions:

This recipe makes about 5 servings.  Here’s all you’ve got to do …

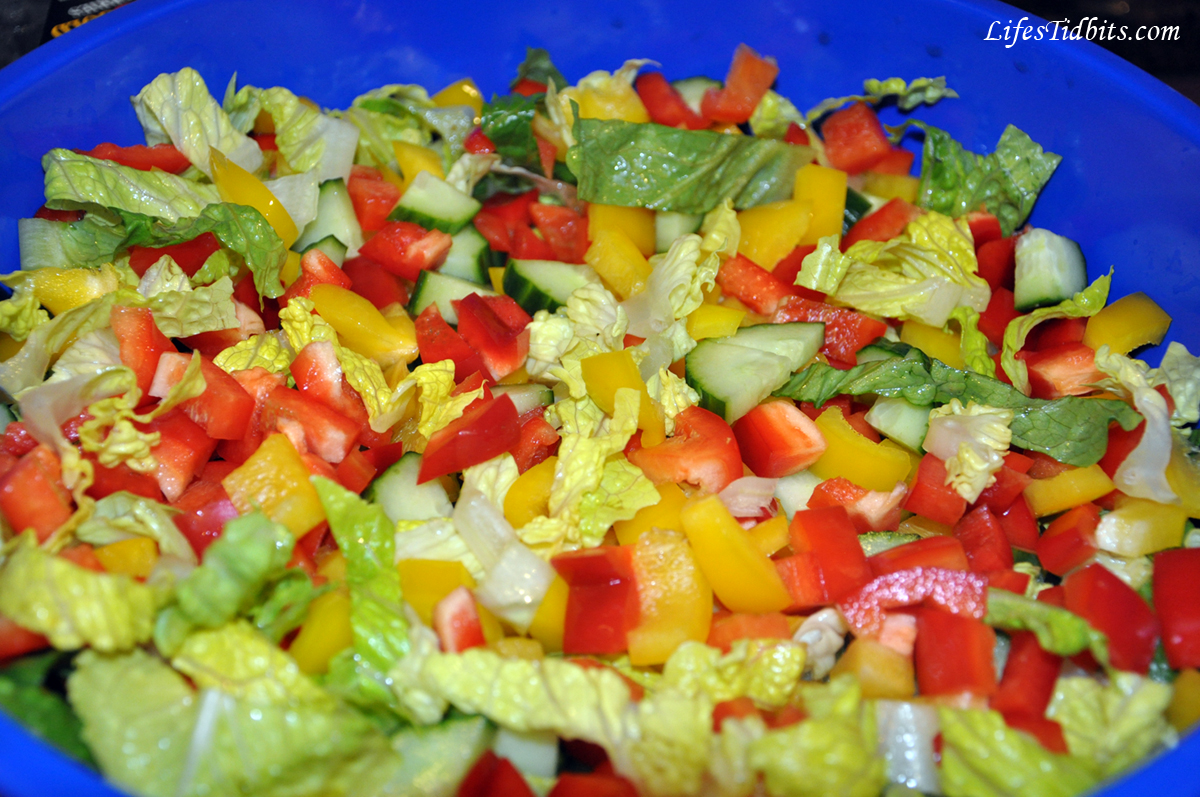
Make your salad.  I use romaine lettuce, red pepper, yellow pepper, red onion and cucumber.

tacosalad_salad

Brown your ground turkey (you can also use ground beef if you want).  Meanwhile combine your spices in a small bowl and put the black beans in a pan to cook/warm on the stove top.  Once the meat is browned add the taco seasoning and about 1/4-1/2 cup of water.  Mix the spices, water and turkey well.  Allow it to simmer until most of the water has evaporated or been absorbed by the meat.  Drain the beans once heated through and add them to the turkey.

tacosalad_meatbeans

I like to portion out the salad first and then scoop the turkey/bean mixer on top.  Serve and enjoy!  I always serve the salad with corn chips.  The husband and I both like to crumble a few of the chips over the salad for a little extra crunch/salt/yumminess.

What are you having for dinner tonight??

Happy Cooking!

If you enjoyed this post, please add your tidbit by commenting below.  Don’t forget you can follow us on PinterestInstagramFacebook and Twitter.

Share

More often than not I am rushing around the house in the morning getting ready for work.  The morning routine includes all the normal things one normally does plus walking the dog and making lunches for me and the hubby.  Despite being in the kitchen doing the lunches I often forget to take meat out of the freezer and put it in the refrigerator.  Does that ever happen to you?  Forget to take the chicken, beef, pork or fish out of the freezer to properly prepare for dinner that evening?  Since I make this mistake often I will sometimes go to the store on the way home from work and purchase what I need.  Other times I get home and slap the meat on the counter and pray it defrosts quickly so I won’t have to nuke it.  For some reason defrosting in the microwave seems to always “pre”cook the meat, which I don’t find appealing.

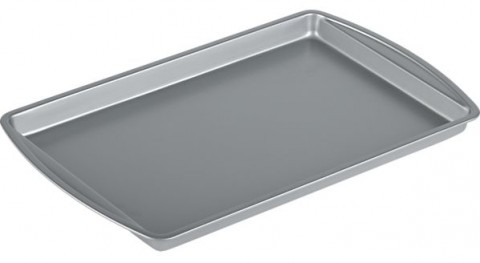
Recently my mother-in-law taught me a great tip for defrosting meat quickly …. place the meat on a metal cookie sheet.

Source

I’m not really sure why this works, but it does so I’m not going to fight it!  Next time you forget to take dinner out of the freezer in the morning to thaw go ahead and slap it on a metal sheet pan.  Wait a little while and flip the meat.  The quick defrosting time will definitely not disappoint.  What’s your tip for defrosting meat quickly?

Happy Cooking!

If you enjoyed this post, please add your tidbit by commenting below.  Don’t forget you can follow us on Pinterest, Instagram, Facebook and Twitter.

Share

I have become a big fan of citrus, specifically lemon, in my desserts as of late.  Maybe it started when we were on our honeymoon in Italy … the lemon gelto, limoncello and other lemon stuff was to die for.  Around the holiday season I found this recipe on How Sweet It Is and immediately put in on my must make list. White chocolate plus lemon = YUM!

Even the husband who isn’t a huge fan of chocolate in general, thought the lemon truffles came out great and is looking forward to me making them again.  Just a thought, but if you are making a fancy dinner for Valentine’s Day and looking for a special dessert, I do believe your search is over!!!

Ingredients:

10 ounces white chocolate, chopped
2 tablespoons unsalted butter
6 tablespoons heavy cream
1 teaspoon corn syrup
2 drops lemon extract
the zest of 1/2 a lemon
1 tsp fresh lemon juice
white sanding sugar for coating

Recipe slightly changed from How Sweet it Is to include more lemon!

Directions:

Place the white chocolate and butter to a bowl, then microwave on medium power for 30 seconds. Stir a few times, then microwave for 20 more seconds.

Add heavy cream and corn syrup to a small saucepan and heat over medium heat just until bubbles appear on the edges.  Immediately pour the cream over the melted chocolate and butter, stir for a few minutes until combined.  Add in the lemon extract and lemon zest, mixing to combine. Place in the fridge for 2 hours.

Remove from fridge and scoop out teaspoon-size balls of chocolate with a melon scoop or teaspoon and roll into balls.  You should have enough for about 30 truffles.

Then roll them in the sanding sugar and coat completely. Put them back in the refrigerator for about 30 minutes.  They will get a little bit soft when you create the balls so putting them back in the refrigerator helps.  Then serve and enjoy!

These little truffles are SUPER decedent and D-E-LISIOUS.

Happy Cooking!!

If you like this post, please add your tidbit by commenting below!  You can also follow Life’s Tidbits on Facebook and/or Twitter.

Share

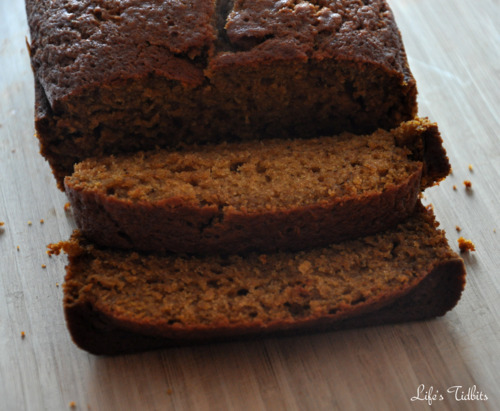
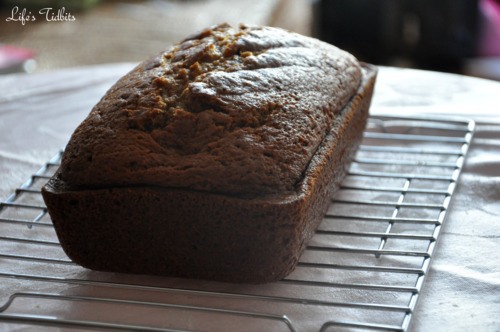
With Thanksgiving right around the corner I thought this would be the perfect time to share one of my favorite recipes for the holiday.  This recipe was originally posted back in March, but I felt it was throwback worthy.  By the way I’ve never been a pumpkin pie, bread, etc lover, but this pumpkin bread recipe was a serious game changer!!!  Below is the original post for throwback Thursday.  Enjoy! 

———————————————————————————————————————————————————–

My sister and I found this recipe for pumpkin bread one fall afternoon when trying to decide what to make that wasn’t chocolate chip cookies. :) Cookies are our go to hang out and watch a movie snack.  We ate nearly a whole loaf in one sitting (or really standing in the kitchen over the loaf of bread) it was THAT good!  It’s now a must have item in our family for Thanksgiving dinner.

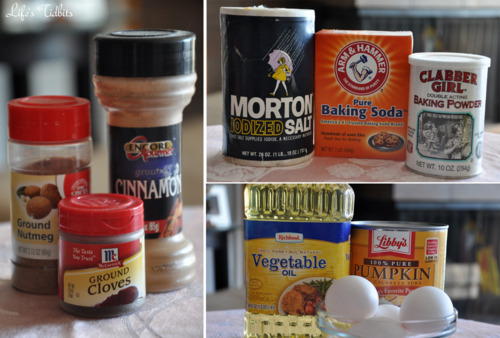
Besides the canned pumpkin most items are staples and you probably already have the ingredients in your kitchen.

Ingredients:
2 cups canned pumpkin (or homemade pumpkin puree)
3 cups sugar
1 cup water
1 cup vegetable oil
4 eggs
3 1/3 cups all purpose flour
2 teaspoons baking soda
2 teaspoons cinnamon
1 teaspoon salt
1 teaspoon baking powder
½ teaspoon nutmeg
¾ teaspoon ground cloves

Pre-heat the oven to 350 degrees.

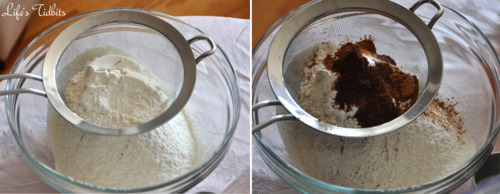
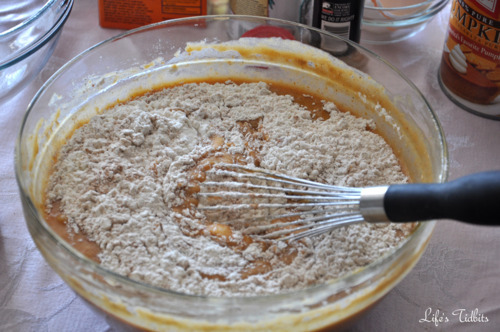
In a separate bowl sift the flour into a bowl.  On your last cup of flour add the baking soda, baking powder, cinnamon, salt, nutmeg and cloves and sift together.

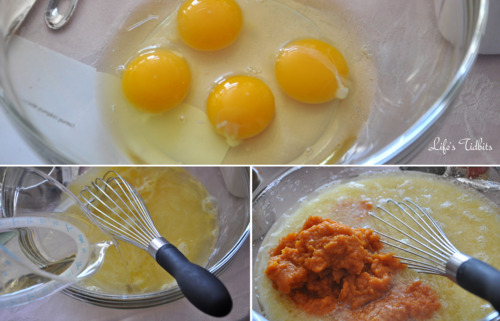
Combine pumpkin, sugar, water, oil and eggs in a bowl and beat together until mixed well.

Mix the dry ingredients with the wet ingredients slowly and beat until smooth.  Unlike chocolate chip batter this batter does NOT taste good. My sister and I made the mistake of trying the batter and thought the bread was going to be terrible.  But it’s is amazing once it is cooked, promise. So just hold off on any tasting. :)

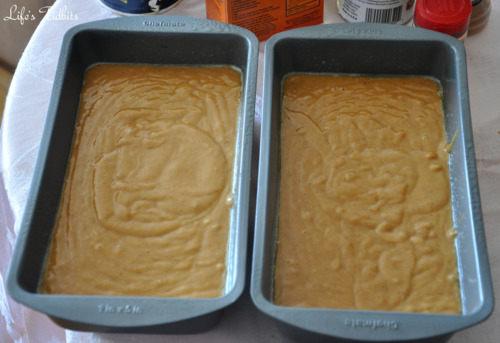
Grease two 9 x 5 inch loaf pans with Pam or any nonstick spray. For easy clean up I recommend putting tin foil in the bottom of the pans first.  Pour the batter into the 2 loaf pans and try to evenly dividing the batter between the two.

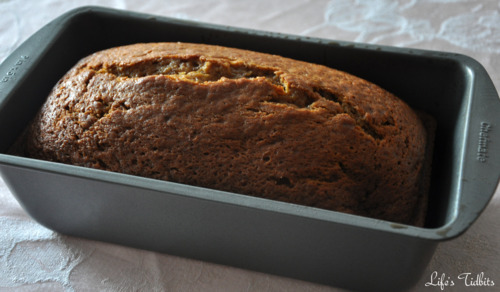
Bake at 350 degrees for 60-70 minutes or until a toothpick comes out clean.  Get ready for your house/apartment to smells OH so YUMMY as the loafs cook! Remove from oven and allow loafs to cool before cutting.

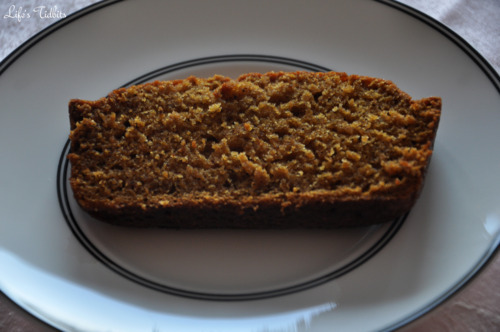
Cut and server!  And watch out because you will without a doubt eat more than one slice. :)

Happy Cooking!!

Don’t forget to leave your tidbit by commenting and/or add Life’s Tidbits to your RSS Reader :)

Recipe from the Kitchen of: BlogChef.net

Share

Happy Hanukkah (or Chanukah depending on your spelling preference)!!!

This year my friend who usually hosts a Hanukkah party decided to go on a vacation with her sister and mom.  I mean really how dare she go away without providing me with potato latkes before she left. =)  So this meant I would have to make my own potato latkes for the first time ever.

This recipe is super easy and if you have a food processor / Cuisinart it is like a hop skip and a jump to the frying pan.

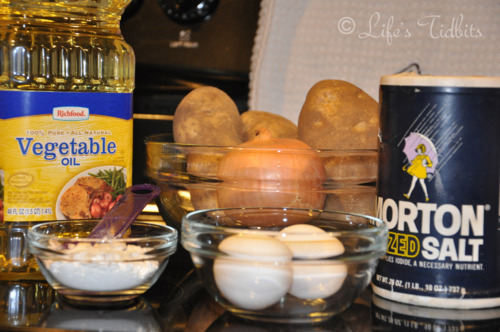
Ingredients:

2lbs (~3 large potatoes)
1 medium onion
2 eggs
1 tsp salt
2 tablespoons flour
vegetable oil

You will also need apple sauce and sour cream to serve with your potato latkes, and I guess if you are my husband then hot sauce should be on the table as well.  Hot sauce is new one for me and I would say skip it, but he insists it tastes good.

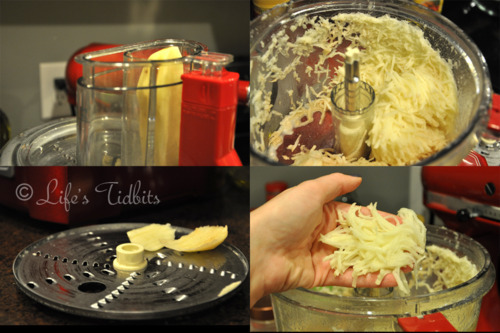
Using a food processor or a box grater shred the potatoes and onions. The food processor saved me a ton of time and makes it so easy!  I got to use one of the attachments for the first time, which is always exciting (it’s the small things, right?!).

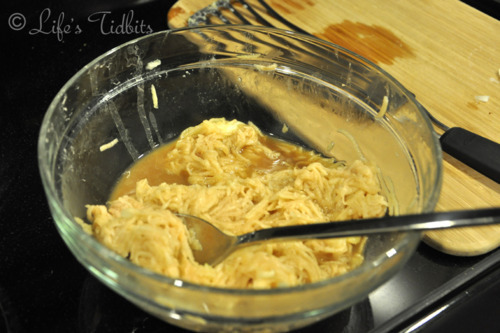
Transfer them to a colander and squeeze dry. Mix the potatoes and onions with the eggs, flour and salt.

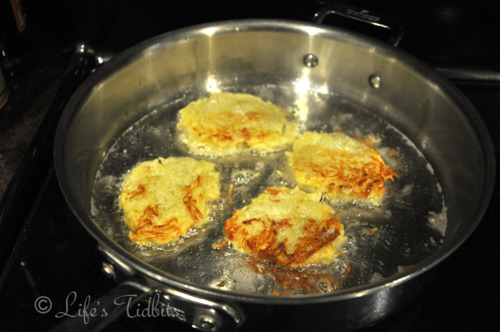
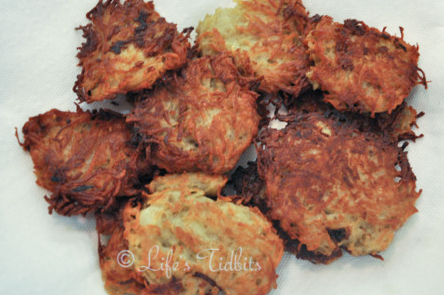
In a skillet, heat 1/4 inch of oil. Drop about four tablespoons for the mixture into the skillet and press lightly to flatten them. Cook over moderately high heat, turning once, until browned and a little crispy. It should be about 6 minutes.

I found that a fish spatula worked really well for flipping these babies and not messing them up.  Just randomly grabbed it, but thought I should pass along the tip nonetheless.  Remove from skillet and place the latkes on paper towels to drain the oil.  It makes about 12 latkes.  And take a look … Voila!

Potato Latkes Recipe, holiday recipe, hanukkah | Life's Tidbits

MAKE AHEAD: The potato latkes can be at room temperature for up to 3 hours. Reheat on a baking sheet in a 350° oven before serving. If you plan to reheat them remember that they cook a little extra in the oven so don’t over fry them.

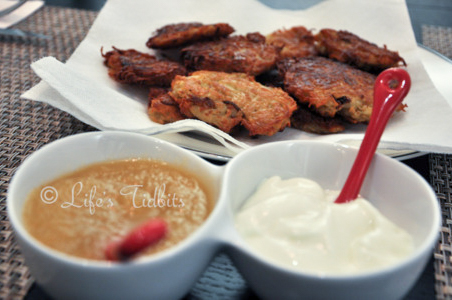
Just writing this blog makes me want to go reheat the extra latkes and eat them!  Anyways put some sour cream (I prefer light as it is less fat but still tastes great) and apple sauce on the table and serve.

Potato Latkes Recipe serve with a side of apple sauce and sour cream, holiday recipe, hanukkah | Life's Tidbits

And seriously how cute is that double serving bowl?  Thank you wedding guest and Crate and Barrel’s Registry.

Happy cooking!

signiture_nicole


Related Posts Plugin for WordPress, Blogger...
Share