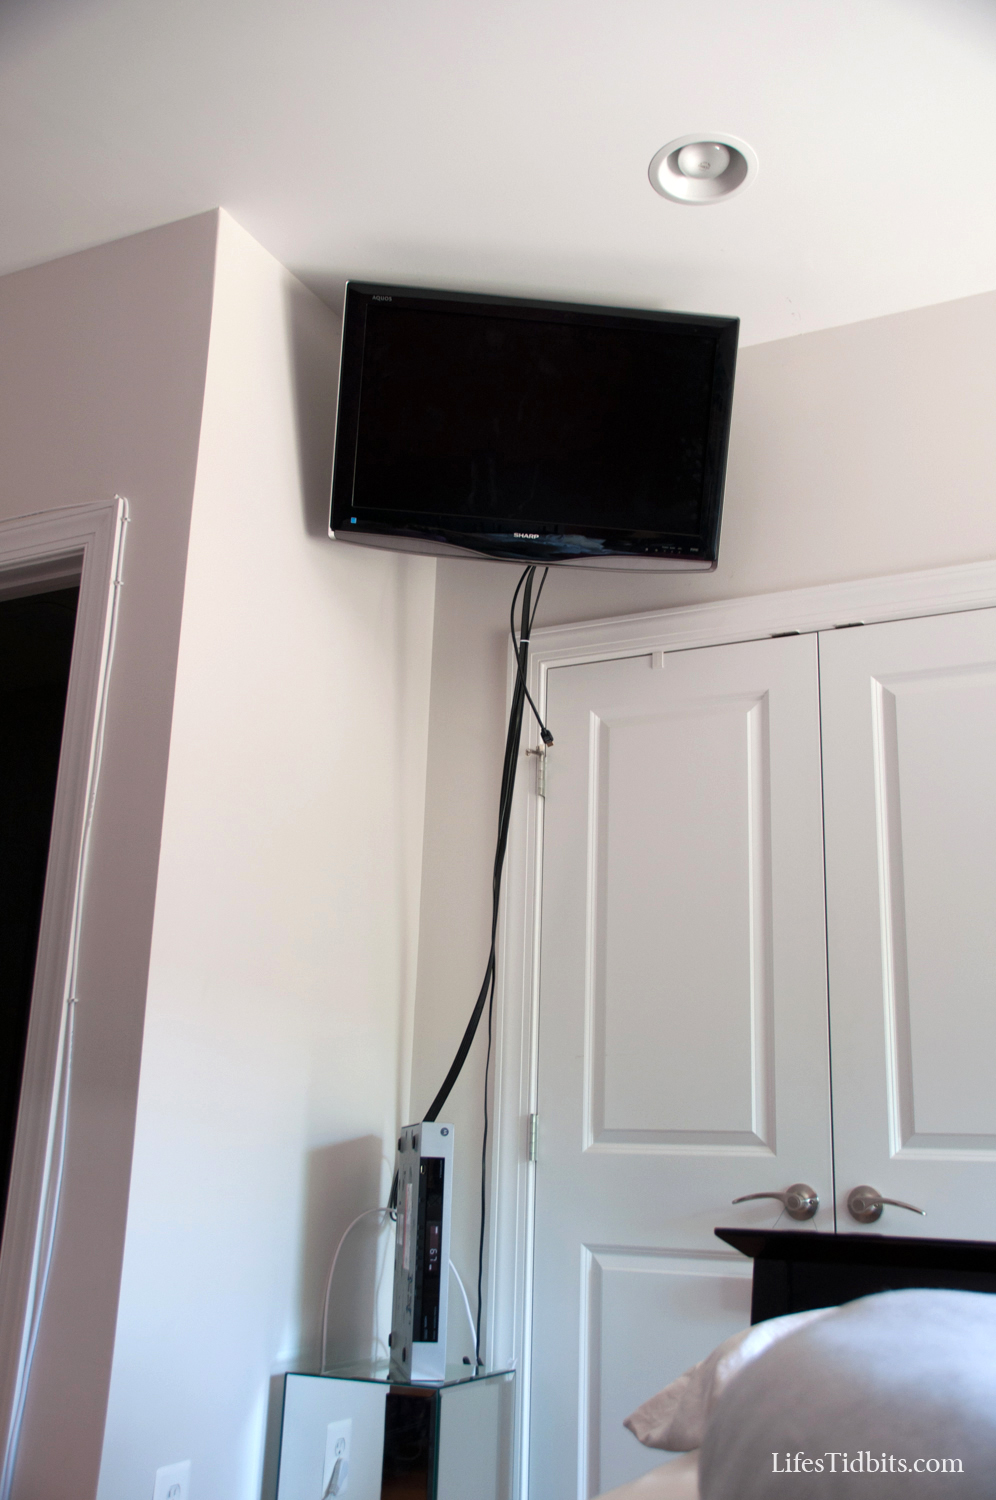
The husband’s favorite home improvement we made early on was wall mounting the TV in the living room.  For the past year we have discussed doing the same in our master bedroom.  If it was a simple wall mount we probably would have knocked it off the to do list a while back, however to make the TV more visible from bed we needed to do a corner wall mount.  And of course, the corner we wanted to put the TV in isn’t close to the cable outlet.

Being the super handy person he is, the husband decided we could run the cable wire ourselves (read himself) instead of hiring an electrician to install a cable outlet in the spot we want to have the TV.  The husband’s DIY electrical solution cost only about $45.  We purchased the following:

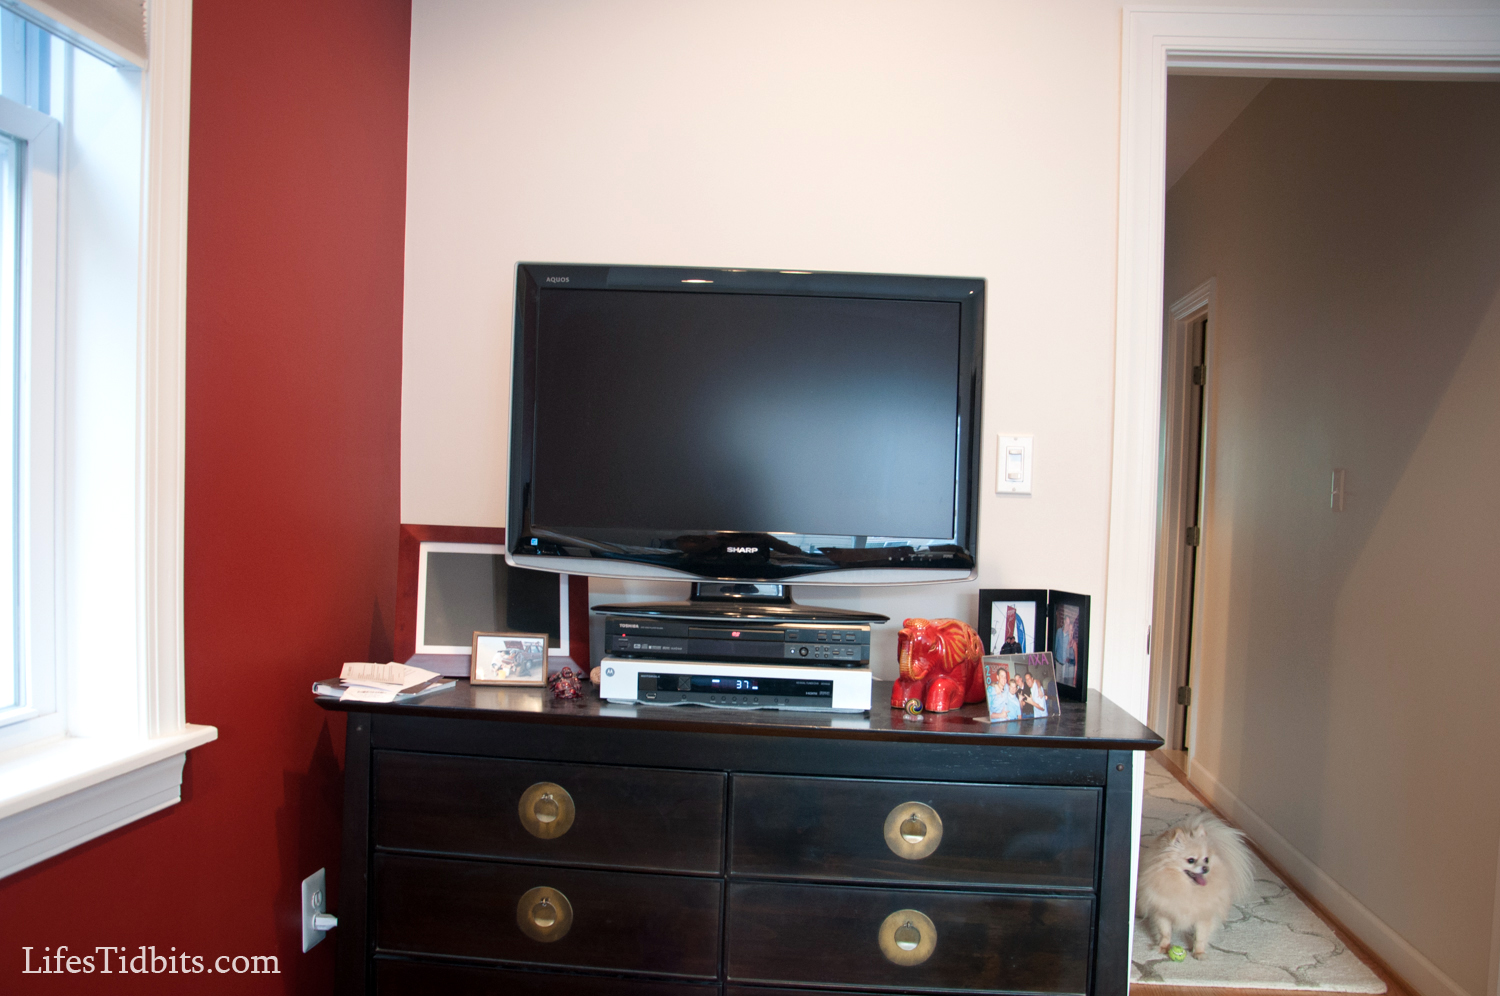
Plus we purchased the wall mount for an additional $60.  When looking at the picture the head of the bed is next to the window so one must turn their head to the left in order to see the TV.

Dresser Before:

tvondresser

Sophi totally photo bombed the picture with her ball! :)

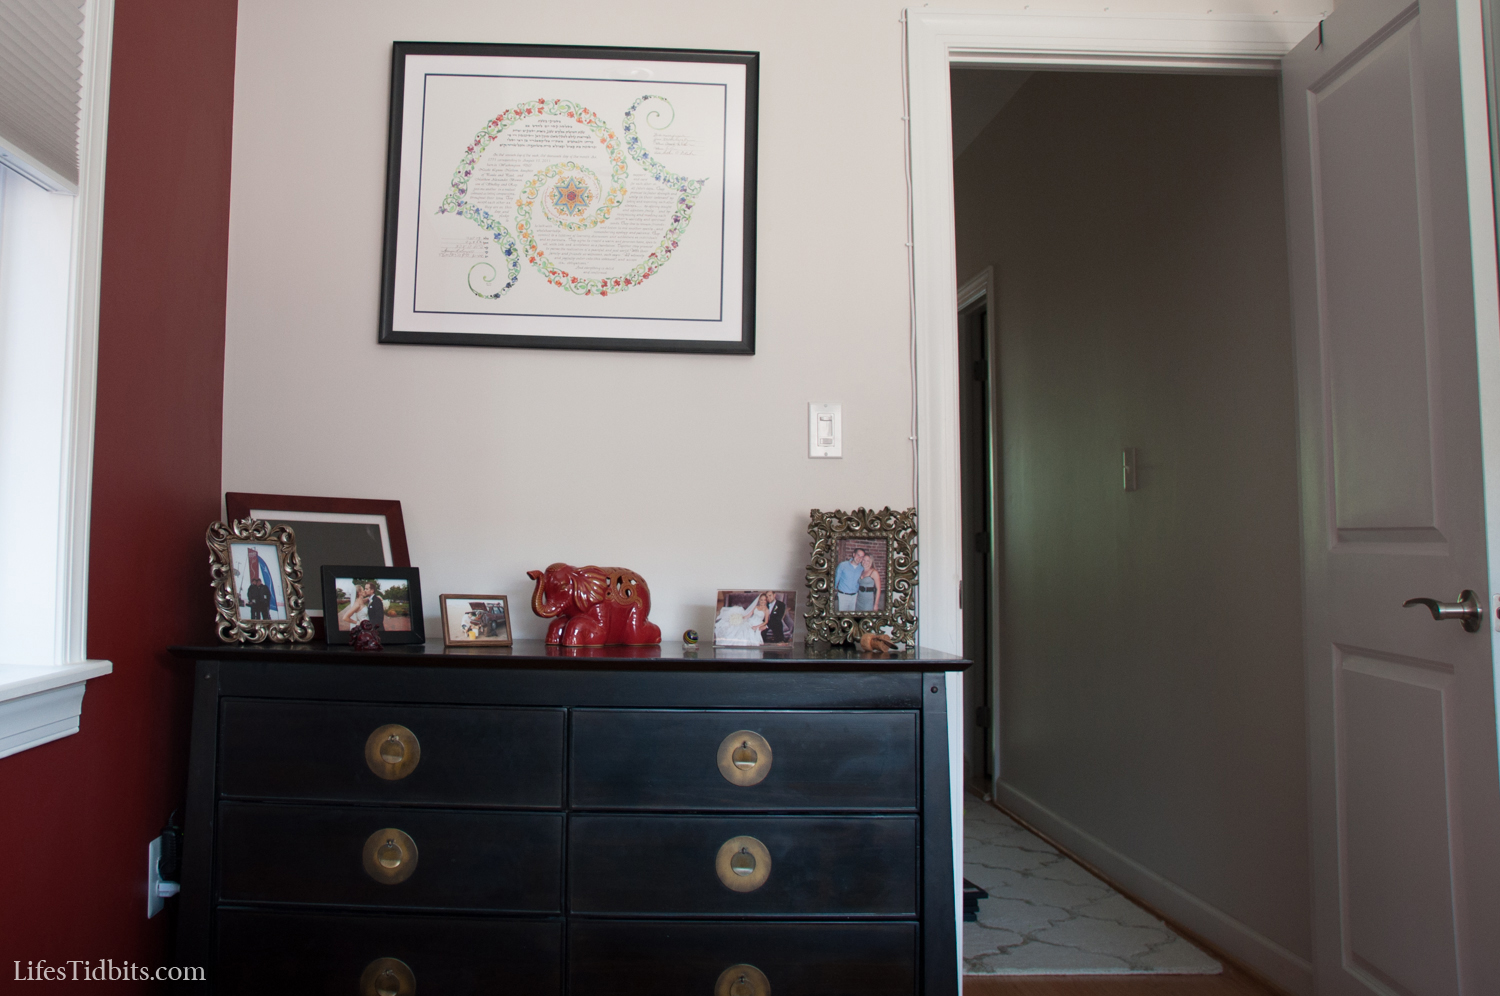
Dresser After:

tv_dresser_after

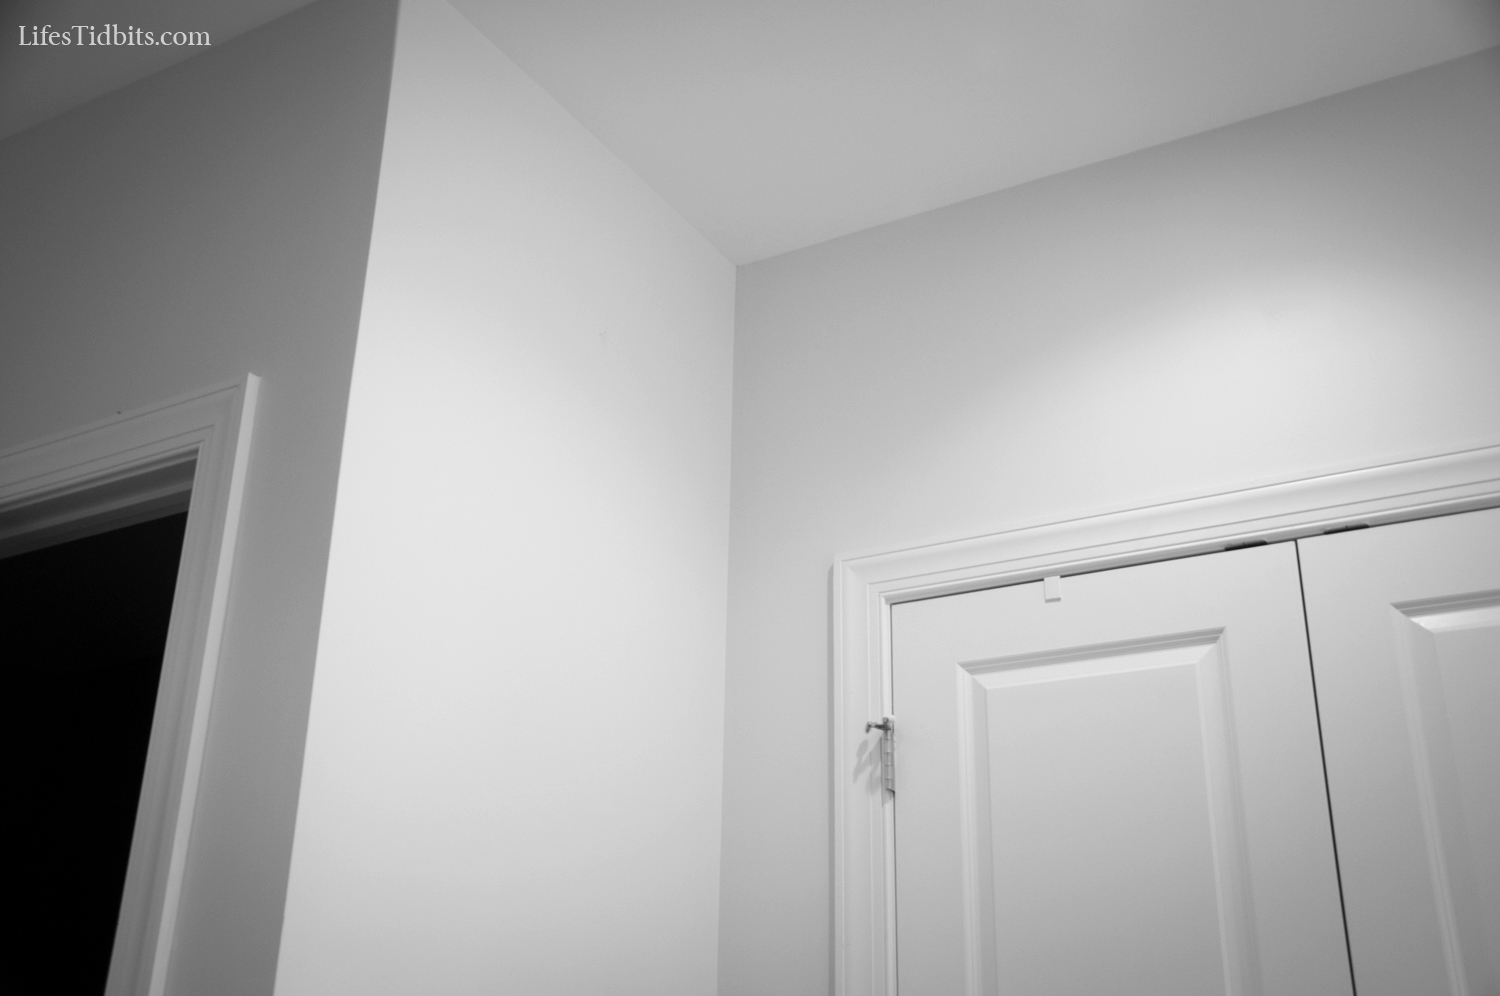
This corner is to the left of our his/her closets before:

tvmountcorner_before

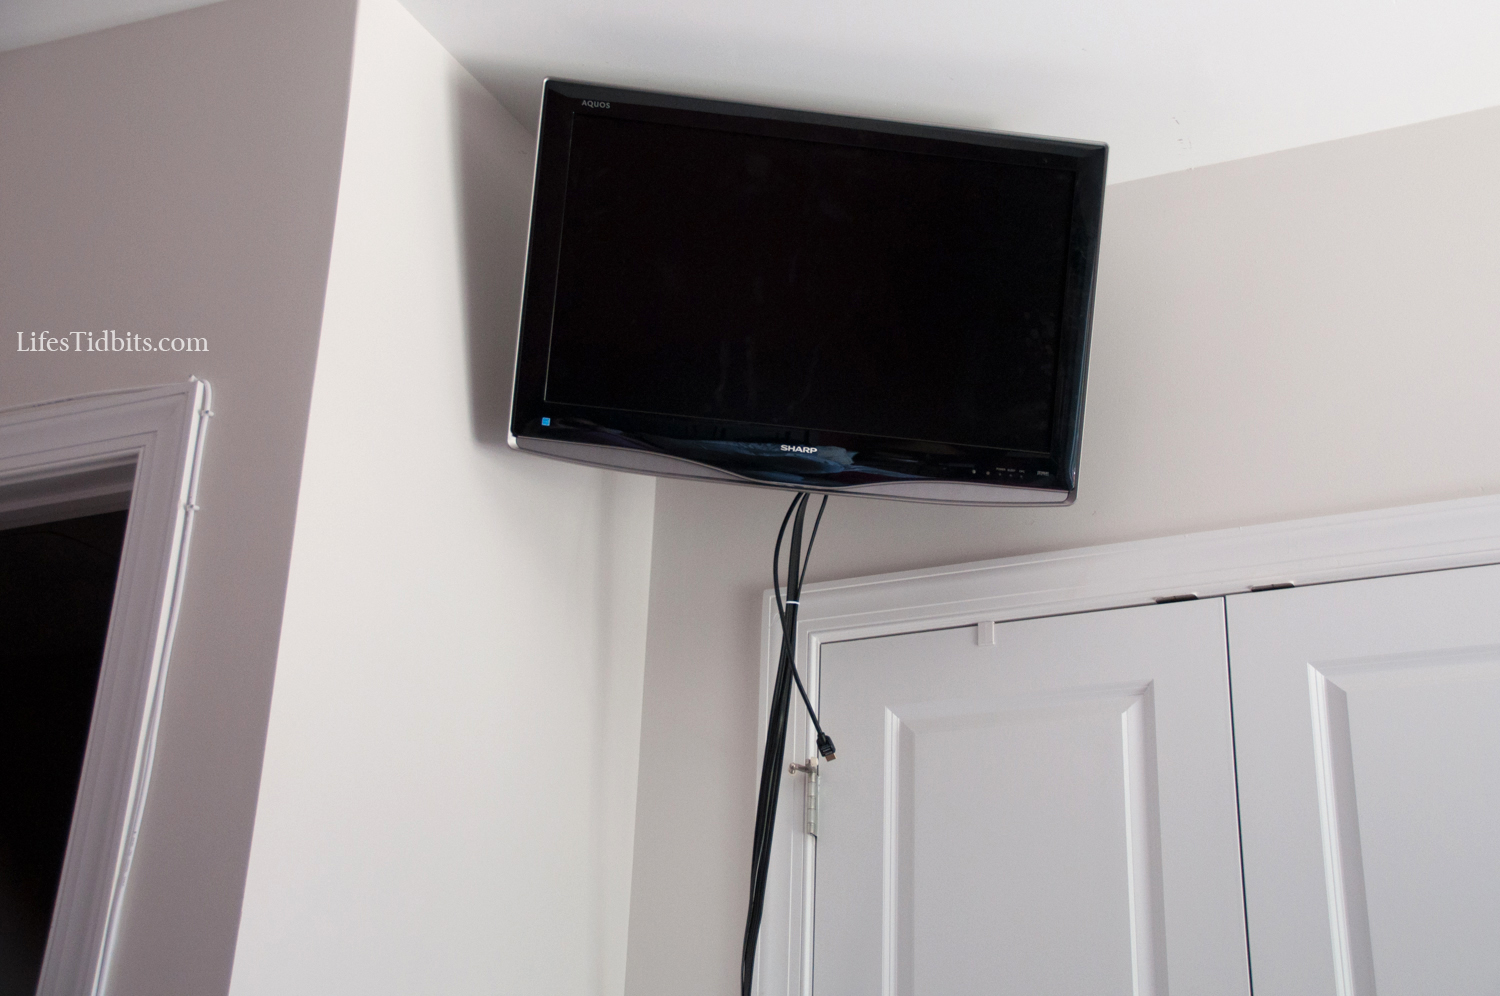
Corner After:

tvmount_after

Although the wires along the door frames don’t bother me they are apparently driving my husband crazy.  What’s driving me crazy is the wires hanging down to the cable box.  We need to install a shelf under the TV for the DVD player and cable box.  Once we do that this issue will be solved:

tvmountafter-2

And thennnnn the husband can execute his project to hide the cable wire underneath the trim.  Though, this will have to wait until after the nursery renovations are complete.

We are loving the new positioning of the television.  It makes watching TV in bed so much easier!  Not only do I like the position of the TV now, but I think the dresser looks better without the TV on it.  What do you think of our wall mount?

Happy Home Improvements!

If you enjoyed this post, please add your tidbit by commenting below.  Don’t forget you can follow us on PinterestInstagramFacebook and Twitter.


Linking Up at: home stories a to z and see all link parties here.

Share

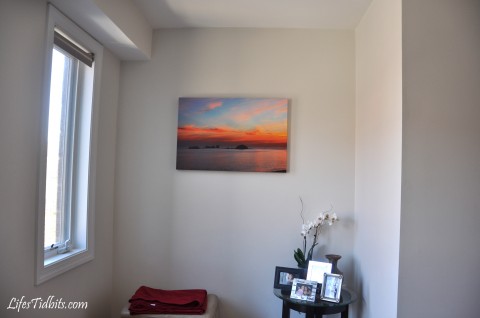
Get it?  Nooks and crannies?  Yeah, I know, I am horrible at blog titles!  After finally getting around to purchasing and hanging the sunset canvas wrap it was time to finish up the nook in our dining/living room area.  When the 10% coupon from Crate & Barrel arrived in the mail I could barely wait for the husband to get home from work and to give sign off on purchasing the sideboard.  The sideboard (aka a china cabinet or buffet) completes our dining set, which previously included a dining room table (with leaf, which come in handy!) as well as a wine rack.  The sideboard not only completes our set, but also gives us extra storage for all our serving platters/bowls/dishes/etc.

BEFORE:

Doesn’t the nook look sad with just that little end table?

AFTER:

Now the space looks appropriately filled.

And a vertical shot of the space ….

This sideboard totally makes our condo look like real adults live here.  AND we had the perfect number of picture frames to place on the sideboard so no additional purchases were necessary.

Happy Decorating!!

If you enjoyed this post, please add your tidbit by commenting below.  Don’t forget you can follow us on PinterestInstagramFacebook and Twitter.

Share

It was just a few short weeks after moving into our new condo that I fell in love with efla storage.  If you remember we expanded the pantry by installing some baskets on the back of the door.  We had been toying with the idea of doing something similar on the back of the laundry closet door, but just haven’t gotten around to it.  The dryer sheets, Shout and detergent just sit on the floor in front of the washer/dryer units or the AC unit, which share a closet.  I’m in no way saying bending over to pick up the items needed is beyond my physical capability, but honestly it’s just annoying to have them down there.

On Sunday we made a trip to the Container Store and LUCKY for us there is a sale on elfa products going on!  It was all the justification we needed to purchase storage for the laundry closet.  One of the sales reps was kind enough to walk around with us and make a number of suggestions.  Unfortunately many of the products just wouldn’t work for us … our laundry area isn’t big enough.  We are fortunate to live in the city and have a w/d in the unit!

In the end we ended up with the same product as we had purchased for our pantry.  The one exception being the sale rep suggested we get a media rack to hold our detergent.  This was an excellent call!  The media rack is just wide enough to actually fit the Costco size detergent I always insist on purchasing. =)

What we purchased:

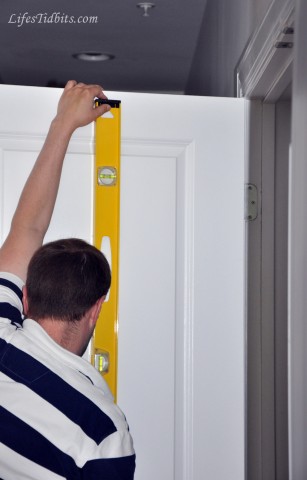
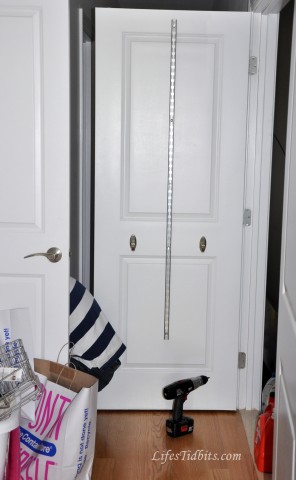
First we held the mounting bar up and marked where the holes were.  Then we double checked it was level.

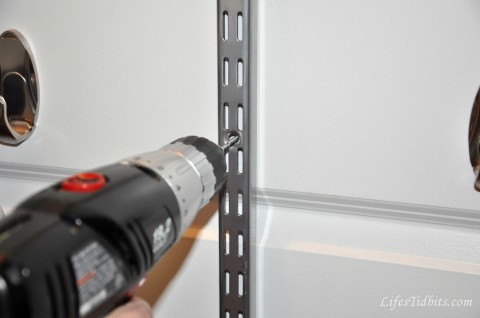
Next the husband drilled starter holes for the top and bottom of the bar, attached the screws and then ensured it was level again.  Then we made “starter” holes for the rest of the screws.

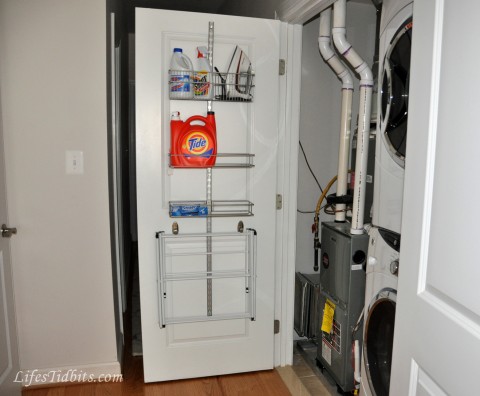
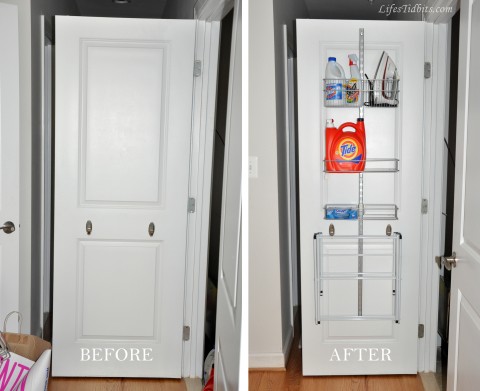
With the bar installed all we had to do was slip on the baskets and the project was complete!

Now we have a one-stop-shop for all thing laundry related.  There is even a bit of space on the bottom two racks for storing additional things.  I’m sure it won’t take me long to find something to put there LOL.  Maybe the cleaning supplies we use the most … actually that would probably be perfect.

I’m loving the change and decided to do a load of laundry just to take advantage of the new storage — yes I know I am a dork.

Happy Home Improvements!!

If you enjoyed this post, please add your tidbit by commenting below.  Don’t forget you can follow us on PinterestInstagramFacebook and Twitter.

Share

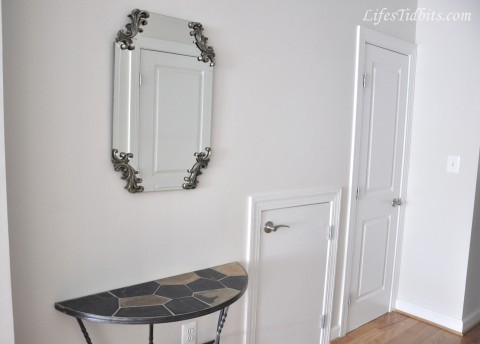
Who’s the most excited of them all?!  Oh that would most definitely be me.  As I’ve shared (here and here) we’ve been doing some decor updating in the living/dining room as well as the hallway (here and well here too).  I’m not sure if I should qualify this area by the front door as the hallway or the living room, but either way we have a new mirror on the wall!

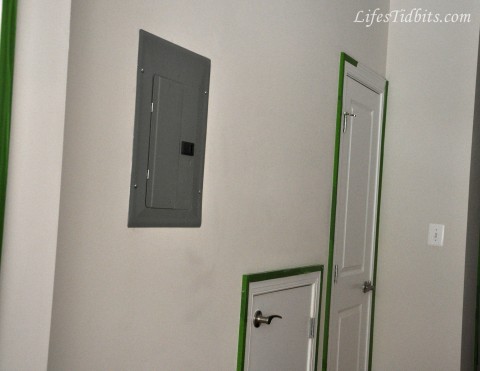
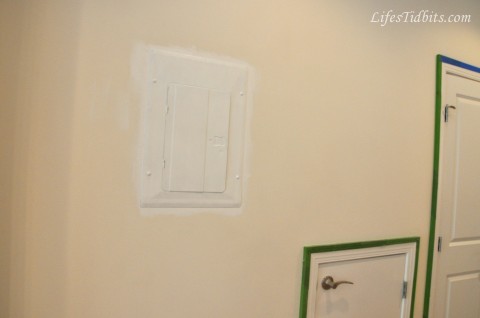
When we first move into our condo the electrical box was kind of sticking out like a sore thumb.  The dark gray contrast on the painters grade white paint was like BAM as soon as you walked in.  The plan was to find a painting or a mirror at some point to cover the box, however in the mean time we needed to make it less noticeable.  So while we were painting the living room and hallway the electrical box was also painted over.

Before:

Progress: Added a couple coats of primer on the electrical box.

I don’t have an after picture of the box painted … I’m a bad blogger, I know (hangs head in shame).  I always peruse the Joss & Main and consider buying all the great items they have.  Then one evening I found the Andretta Wall Mirror, which the husband agreed would be a go to hide the electrical box.  I waited too long and the item was no longer available … bummer!  A couple weeks later I happened upon the mirror again and decided I would purchase it as soon as the husband got home and confirmed he still liked the mirror.

Just a few days later the mirror arrived at our front door. I was shocked at how heavy the mirror was, but managed to carry it up the stairs and into the apartment.  The poor husband had barely walked through the door when I began asking (read nagging) him to hang the mirror.  Being the good natured guy he is out came the tool box and level and within no time the mirror was hanging on the wall.  =)

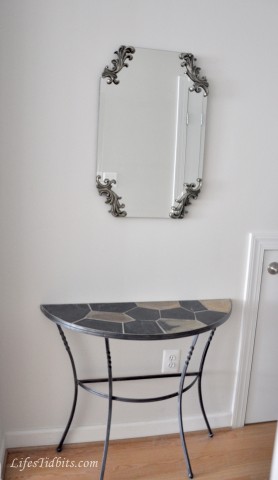
After:

Now I think a new chest/table with drawers for under the new mirror is needed and we will be done with this area of the apartment.  I’ve had that semicircle table since COLLEGE!  Although it has held up well, it is time for a change/upgrade.  Plus something with storage would come in handy for scarfs, gloves, sunglasses and other stuff of that nature.

For now though I am happy to have the electrical box covered and a mirror to double check my outfit/makeup as I walk out the door! LOL.

So what do you think of the new mirror?

Happy Decorating!!

If you enjoyed this post, please add your tidbit by commenting below.  Don’t forget you can follow us on PinterestInstagramFacebook and Twitter.

Share

I’ve been on a bit of a buying binge.  For the most part they been pretty “small” thing, but they make SUCH a difference around the house.  The new tidbits are great additions to the condo decor and only make me want to buy more details for the house.  The husband has been joking that he might have to take the credit card away if I keep this up LOL.  All joking aside he has completely agreed with all my most recent purchases.

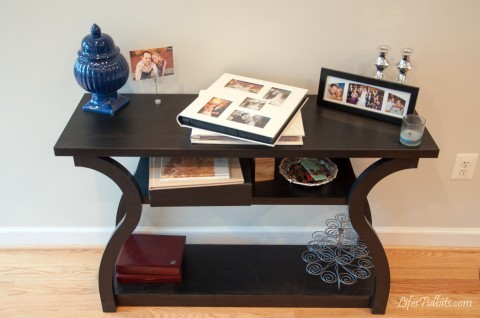
The library table (as the husband calls it) from his bachelor days is definitely on its last leg.  This side table has held up well and successfully made it through three or four moves.  The table has a number of sharpie pen “paint touch ups” and kind of rocks if you even slightly touch it.

Around Christmas time I was browsing Overstock.com and came upon a black table I thought would be the perfect replacement.  With my 10% off coupon in hand I convinced the husband we “needed” the table.  Like so many other pieces of furniture we own it came dissembled and the husband was responsible for putting together our new table.  It didn’t take him too long despite assembling the legs backwards on his first attempt. :)

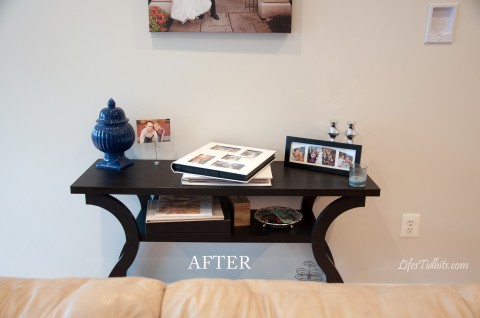
The next day I went ahead and took some after pictures.  I really like the curves and character of the new table.  The fact that it doesn’t shake when I pick up the photo album is a bonus hahaha!

The new table also has an extra level of storage at the bottom.  The only problem with that shelf is it seems to collect dust and dog hair. Maybe that means I need to vacuum more … hmmmm ;)

Have you done any impulsing buying lately for your place?

Happy Decorating!

If you enjoyed this post, please add your tidbit by commenting below.  Don’t forget you can follow us on PinterestInstagramFacebook and Twitter.

Related Posts Plugin for WordPress, Blogger...
Share