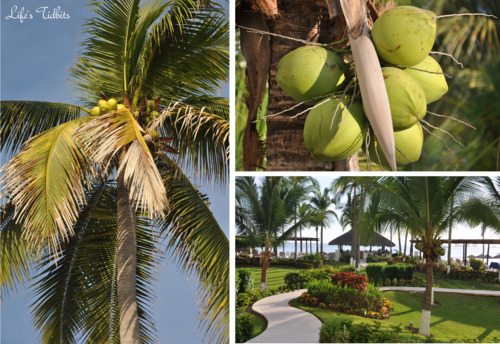
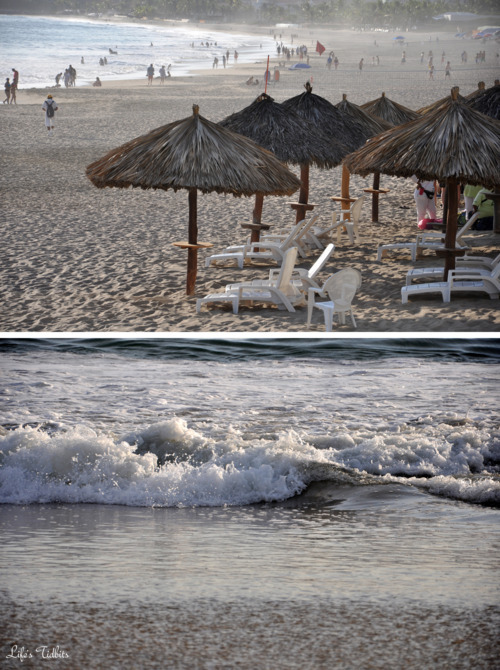
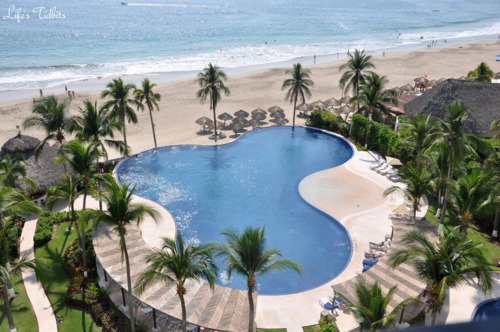
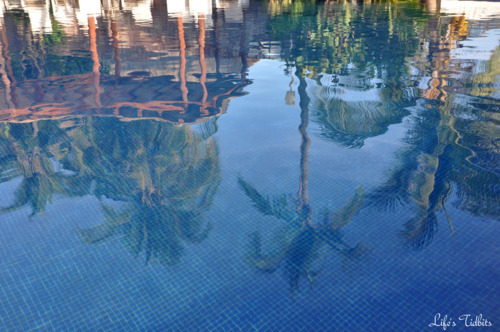
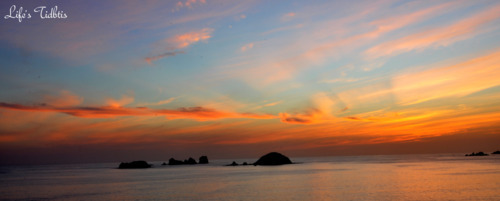
This picture was taken in 2009 when some friends, the husband and I went to Ixtapa, Mexico for vacation.  It was a fantastic trip and the views were beautiful.  I love the way the palm trees are reflected in the pool as the sun was setting.

Check out more pictures from a different Mexico vacation here.

Happy Friday!

Don’t forget to leave your tidbit by commenting and/or add Life’s Tidbits to your RSS Reader :)

Share

I have always been into photography.  Since middle school I’ve followed in my mother’s foot steps and taken/printed TONS of pictures.  There are albums and albums of pictures at my parent’s house and even more at our condo.  Given my love of photography I thought it might be fun to share a photo each week.

Since this is the first photo of the week I though it was appropriate to share one of the first pictures I took with my Nikon D90.  This picture was taken the weekend of my sister-in-law’s wedding in Missouri.

Although it’s suppose to be photo and not photoS, I still wanted to share one more picture from that trip to Missouri.

Happy Friday!

Don’t forget to leave your tidbit by commenting and/or add Life’s Tidbits to your RSS Reader :)

Share

A few weeks ago we went to a friend’s beach themed wedding.  She had EVERY detail covered.  Knowing the amount of time and effort even small details take I can’t even imagine how many hours my friend put into everything for her wedding.

At her bachelorette party she mentioned they were going to have a Photo Booth at the wedding.  I had been to a wedding last year with a photo booth and loved it. At the last wedding I had taken pictures with friends, but by the time the husband and I made it to the booth it was closed.  Total pout! So this time I was determined to get a photo booth picture with my lovely husband.

After quickly locating the photo booth during cocktail hour I noticed a poster board.  On the posterboard there were a few photobooth pictures of my friend and (now) husband from other weddings.  She had the photo booth picture strip size increased and then added some cute text about taking pictures in the booth. I wish I had taken a picture of the poster board to show you exactly what it looked liked.

It took us the first two shots to understand where to look and how the booth worked. You would think two grown adults could successfully take pictures, but I guess we aren’t coordinated enough hahaha.  Here’s how our pictures came out:

See what I mean? The first two we are a little caught off guard.  When we sat down at the table in the reception room we found these cute frames to put our photobooth picture into.

Each frame had a message from the bride and groom.  On the back there was a clear label with our name on it so we knew which frame was ours.Such a cute detail! I just love the message and idea to send each guest home with a frame.  Check it out!
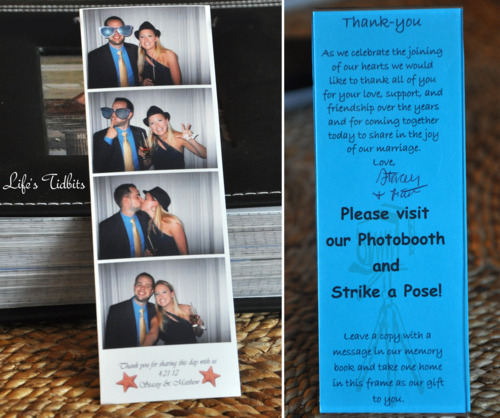
And can you believe it … each one was hand signed by the bride and groom!  I told you this bride had every detail covered! :)

The cost of the frames seem pretty reasonable. I did a little Googling and found a number of places like this one.  There are many places that sell the perfect size frames for photobooth picture strips.

Have you seen this tidbit at a wedding before?

Happy wedding planning!!

Don’t forget to leave your tidbit by commenting and/or add Life’s Tidbits to your RSS Reader :)

Share

I feel like a bad blogger for only posting once last week, but hopefully you will forgive me since I was on VACATION!  The husband and I both turned 30 in February, GULP, and decided the best way to celebrate was a romantic getaway.

We’ve been to Ixtapa, Mexico a couple of times.  This however was our first time alone on vacation in Ixtapa.  We got a lot accomplished on this trip: nice tans, both read the Hunger Games trilogy, relaxed, swam, walked the beach and enjoyed some yummy food and margaritas! As you can see we took the R&R vacation idea very seriously. :)

Here are few of my favorite shots from the week.

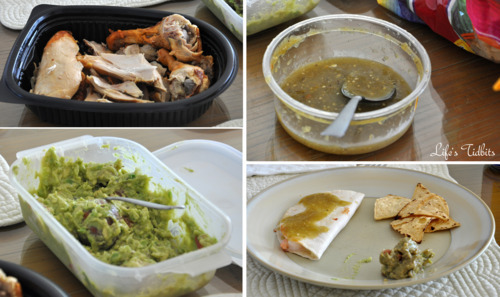
Might seem repetitive, however we ate the same lunch every day. Chicken, salsa verde, guac and cheese quesadilla.

Bye bye Mexico!

Back to life and back to reality.  I’m sure glad we got this relaxing vacation in … we have got a lot going on in the next few months!

Happy vacationing!

Don’t forget to leave your tidbit by commenting and/or add Life’s Tidbits to your RSS Reader :)

Share

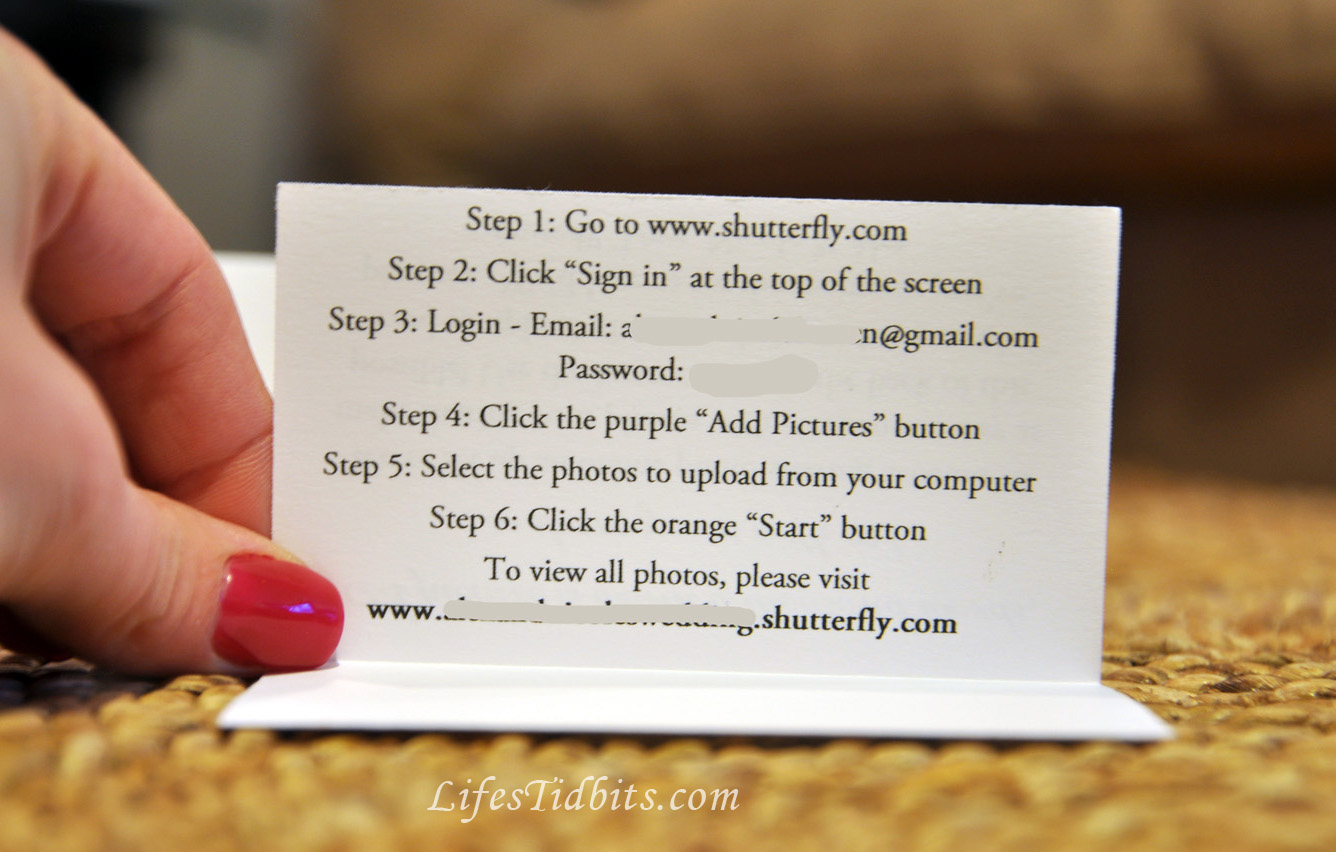
While wedding planning I found a blog on Weddingbee about photo-sharing.  The idea is guests upload their personal photos from the evening and it’s shared with everyone who attended the wedding.  Since I am absolutely obsessed with pictures, I figured this was a must have for our wedding.

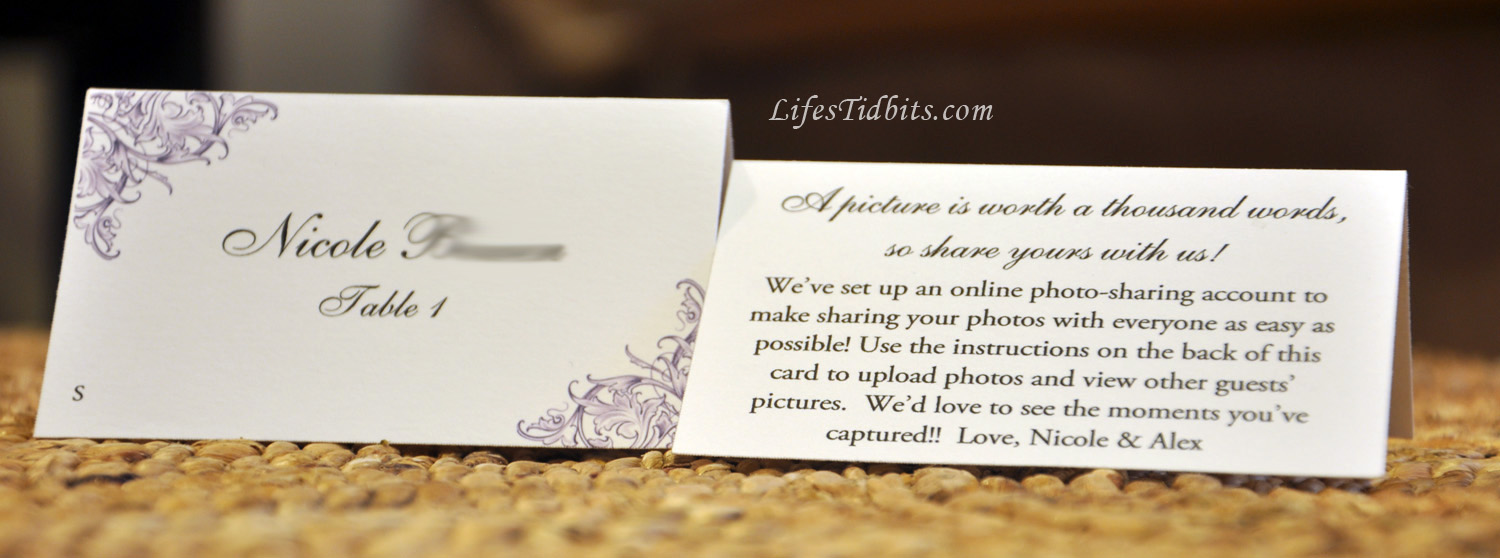
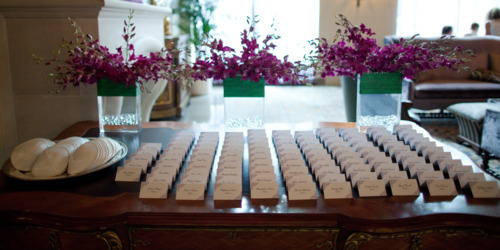
I initially planned on creating the business card (using VistaPrints) as the blog describes and placing one on each person’s table with the menu card.   Then I could use the extras as reminders in the thank you cards.  However they came back with a TYPO (total fail on my part) so they went into the trash.  In the end I decided to make the escort card and photo-sharing card one in the same.

Check them out:

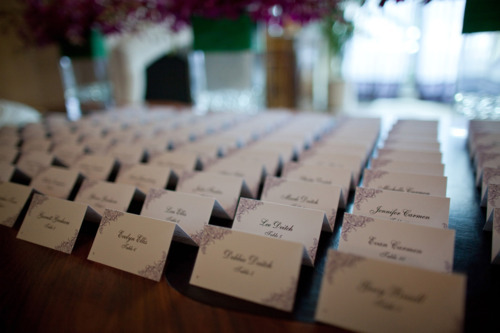
DIY Wedding Escort Cards, Table Tents | Life's Tidbits

DIY Wedding Escort Cards with Photo Sharing | Life's Tidbits

I purchased Avery Small Tent Cards, 2 x 3.5 Inches and downloaded the free template on Avery.com.  Although figuring out how to feed the paper through the printer so everything was facing the right way proved to be difficult the end result was exactly what I wanted!

I used the filigree images from our wedding invitations (also DIY) and the calligraphy font (which we downloaded for free) initially for the envelopes.  Reusing details from our other paper wedding products made the escort cards match the other paper items.

Cost: Avery Small Tent Cards ~$18 (plus cost of ink for printer) … pretty cheap if you ask me!

A couple of tips:

  • SPELL CHECK, spell check and have someone else spell check it too!
  • use regular paper white paper and print in gray scale for test pages.
  • mark which way the paper should be fed for each section very clearly.
  • set your printer to “high” quality instead of standard.  although this uses up more ink the difference, in my opinion, it totally worth it.
  • buy a bigger pack of escort cards then you think you will need.  inevitably you will have to reprint a couple for whatever reason:)

Here’s how the cards looked all set up and ready to go:

Photo Credit: Korie Lynn Photography

Photo Credit: Korie Lynn Photography

Happy DIY!

Related Posts Plugin for WordPress, Blogger...
Share