With Thanksgiving right around the corner I thought this would be the perfect time to share one of my favorite recipes for the holiday.  This recipe was originally posted back in March, but I felt it was throwback worthy.  By the way I’ve never been a pumpkin pie, bread, etc lover, but this pumpkin bread recipe was a serious game changer!!!  Below is the original post for throwback Thursday.  Enjoy! 

———————————————————————————————————————————————————–

My sister and I found this recipe for pumpkin bread one fall afternoon when trying to decide what to make that wasn’t chocolate chip cookies. :) Cookies are our go to hang out and watch a movie snack.  We ate nearly a whole loaf in one sitting (or really standing in the kitchen over the loaf of bread) it was THAT good!  It’s now a must have item in our family for Thanksgiving dinner.
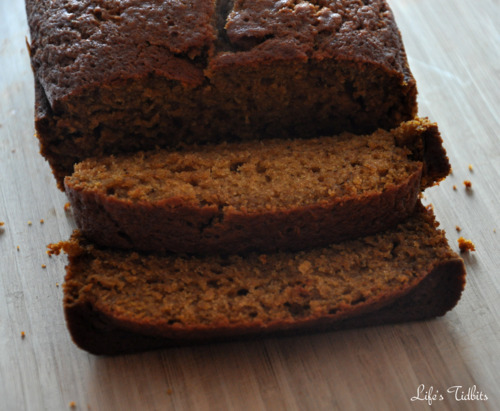
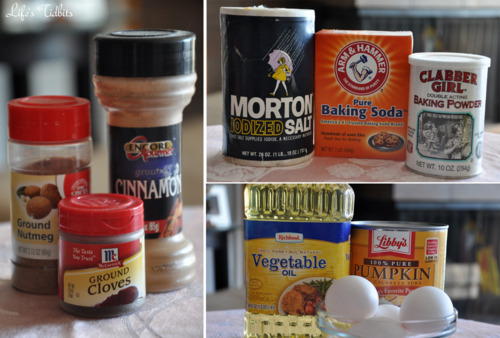
Besides the canned pumpkin most items are staples and you probably already have the ingredients in your kitchen.
Ingredients:
2 cups canned pumpkin (or homemade pumpkin puree)
3 cups sugar
1 cup water
1 cup vegetable oil
4 eggs
3 1/3 cups all purpose flour
2 teaspoons baking soda
2 teaspoons cinnamon
1 teaspoon salt
1 teaspoon baking powder
½ teaspoon nutmeg
¾ teaspoon ground cloves
Pre-heat the oven to 350 degrees.

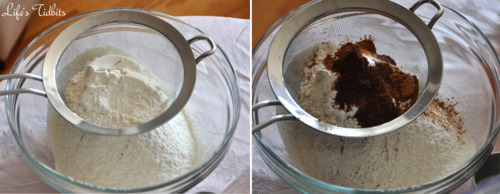
In a separate bowl sift the flour into a bowl.  On your last cup of flour add the baking soda, baking powder, cinnamon, salt, nutmeg and cloves and sift together.
Combine pumpkin, sugar, water, oil and eggs in a bowl and beat together until mixed well.
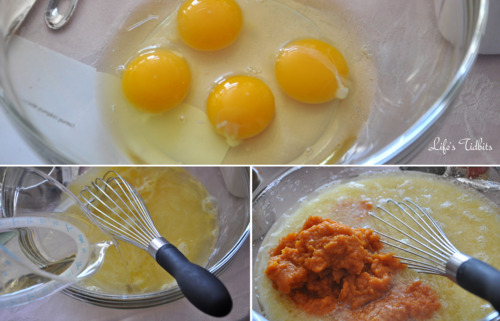
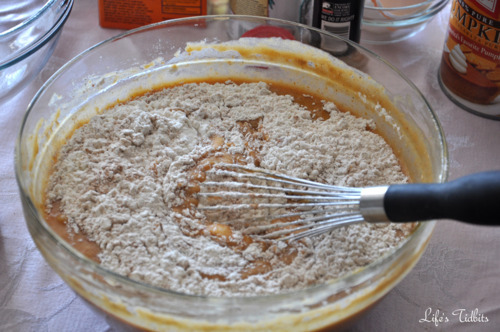
Mix the dry ingredients with the wet ingredients slowly and beat until smooth.  Unlike chocolate chip batter this batter does NOT taste good. My sister and I made the mistake of trying the batter and thought the bread was going to be terrible.  But it’s is amazing once it is cooked, promise. So just hold off on any tasting. :)
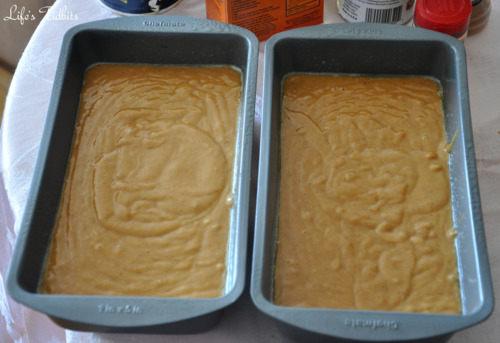
Grease two 9 x 5 inch loaf pans with Pam or any nonstick spray. For easy clean up I recommend putting tin foil in the bottom of the pans first.  Pour the batter into the 2 loaf pans and try to evenly dividing the batter between the two.
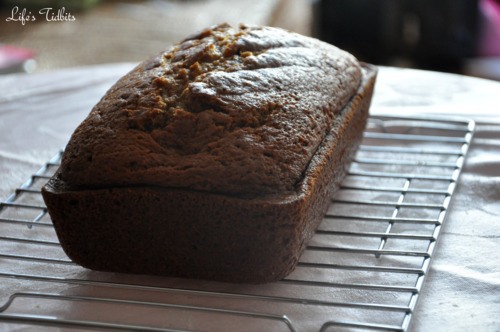
Bake at 350 degrees for 60-70 minutes or until a toothpick comes out clean.  Get ready for your house/apartment to smells OH so YUMMY as the loafs cook! Remove from oven and allow loafs to cool before cutting.
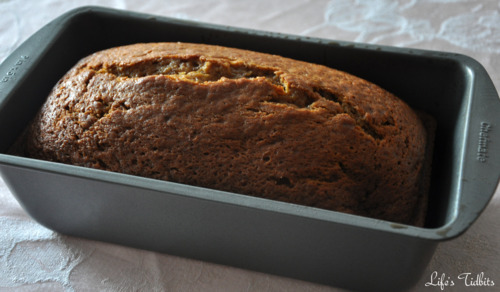
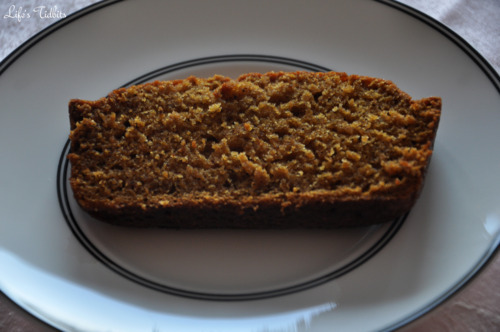
Cut and server!  And watch out because you will without a doubt eat more than one slice. :)
Happy Cooking!!

Don’t forget to leave your tidbit by commenting and/or add Life’s Tidbits to your RSS Reader :)

Recipe from the Kitchen of: BlogChef.net

Share

PEOPLE  it is Tasty Tuesday!  What are you making for dinner tonight?  Last week I love made some spicy chicken curry for the hubby.  This take on chicken curry is definitely A LOT healthier than what you would get from a restaurant.  If you don’t like spicy stuff I suggest not using any (or as much) jalapeno and use all regular curry powder instead of the hot madras curry powder.  This recipe can totally be tweaked to fit your pallet and is pretty forgiving!

Ingredients
1 medium onion, chopped
3-4 cloves garlic, chopped
1/3 jalapeno, chopped
1 tablespoon garam masala
1/2 teaspoon ground cumin
1/4 teaspoon of ground cloves
2 tablespoons vegetable oil
1 tablespoons hot madras curry powder
1 tablespoon curry powder
3/4 cup water
1/2 cup condensed milk (Fat Free will taste just as good as full fat)
5 chicken breasts, cut into chunks
Kosher salt
Steamed broccoli
Steamed white rice, for serving

Chop the onion, garlic cloves and jalapeno.  Get out all your spices so you have them ready to use.

In a food processor combine the onion, garlic, jalapeno, garam masala, cumin, and cloves. Process to make a chunky paste.  Heat the oil in a large Dutch oven over medium heat. Add the onion mixture, curry powder, and 1/4 cup water. Let fry 4 to 5 minutes.

Add another 1/2 a cup of water as well as the 1/2 a cup of condensed milk.

I like to precook the chicken on my grill pan, however you don’t have to.  Precooking the chicken adds a pan to clean, but also speeds up the overall cooking time.

Add chicken pieces and salt to taste. Bring to a boil. Simmer until the chicken is cooked through, about 30 minutes.  If you precooked the chicken I would say about 10 minutes instead of thirty.  Add the steamed broccoli to the mixture.  Serve over rice – makes about 5 servings.

Bon Appetit!!

Don’t forget to leave your tidbit by commenting and/or add Life’s Tidbits to your RSS Reader :)

Share

This picture was taken back in April of 2010.  My sister-in-law and her husband came to town for a visit and we decided to walk down town and check out the cherry blossoms.  They were great that year and this is my favorite picture from the day!  We got this picture blown up to an 8×10 and matted/framed it.  The plan is to hang the picture in our hallway at some point soon!

Happy Friday!

Don’t forget to leave your tidbit by commenting and/or add Life’s Tidbits to your RSS Reader :)

Share

I find it odd that I’m perfectly capable of caring for a dog, but give me a plant and the thing is dead in less than a week.  I mean it’s a serious black thumb problem I have.  We offered to water our neighbor’s plants while they were on vacation and I made the husband do it since I was afraid I would instantly kill them all.  Despite my inability to keep plants alive I’ve always wanted to have a little herb garden.  The thing is when I got into cooking recipes would call for fresh herbs.  So I would buy a package of mint, for example, and then only use two tablespoons.  The rest would sit in the refrigerator and go bad in no time.  Those little packages cost like $2 and you can buy a pre-planted herb for $2.99.  The way I see it is my black thumb is not only killing the plants, but my wallet too … hahahaha!

So this weekend the husband and I went herb shopping.  My big thing was I didn’t want to start from seedlings.  Apparently Home Depot doesn’t carry herb plants, only seeds.  I just assumed Home Depot would have them, so when they didn’t we had to go a different route.  We found basil at the grocery store and then chives, mint and parsley at a flower shop.  If I’m able to keep these four herbs alive I plan to add rosemary and thyme to my little “garden”.

We laid down some plastic so the potting soil didn’t get all over the hard woods and started planting the herbs.

When I was done planting the husband and I talked about where we should put our herb plants.  We have this little “balcony” off of our living room, which I’ve never really known what to do with.  A while back I stuck an odd chair out there.  I wouldn’t say it is an eye sour, but not exactly elegant either.  If I am able to keep these herbs alive I think it will be time to say goodbye to the old chair and hello to our herb garden.

But for now a little cohabitation will be going on. I don’t think the chair will mind sharing the space. :)

After only one night my basil is already wilting. I’m praying it perks back up.  This is not exactly the start I was hoping for.

People, please cross your fingers and channel some of your green thumb vibes my way!! I really hope these little guys make it.  Any tips for me on how to keep these little guys alive?

Don’t forget to leave your tidbit by commenting and/or add Life’s Tidbits to your RSS Reader :)

Share

A few months ago I was talking to my friends about how much I loved my first visit to Missouri to visit my in-laws.  Long story kind of short … after picking me up from the airport my husband drove us to his parent’s place.  As we took a left and drove down the gravel road to their house, I saw an old school John Deer tracker driving down the road.  I was so excited and couldn’t stop talking about it all weekend.  Of course this was hilarious to my husband and his family, as they see tractors ALL the time!  On Sunday before we left, my mother and father-in-law broke out their tractor and allowed me to drive it.  Check me out!!

Anyways, while telling my friends this story I started talking about how I need to experience more Midwestern things.  It took me very little time to decide I wanted to go to a real live rodeo.  After mentioning the idea of going to a rodeo to my mother-in-law she was on it, sending a list of rodeos this summer.  Soooo back in July I to my very first rodeo!

Northeastern girl goes to the Midwest and channels her inner cowgirl!!!

The rodeo had a lot of great food!  Do you see the sign that says Cheese Cake on a Stick?!?!  I wish I had tried one … maybe next time.

First up was the mutton busting.  Have you heard of this before?  I know I hadn’t.  Check out these super cute little kids hanging onto a sheep for dear life.

It was one of the cutest things I’ve ever seen!  I want my some-day-kids to do mutton busting, but I’m not really sure they have those kind of activities in the DC area. :)  Next favorite thing was the bucking broncos.  These horses were coming off the ground trying to get the cowboys off of them.  It was crazy to watch.

Unfortunately the pictures I took of the bull riding just didn’t come out.   The flash was bouncing off the bar in front of us and I just didn’t get a good shot.  Therefore no good shots to share with you here.  Pout.  Maybe next time I will get a good shot.  Here’s the husband and I enjoying our first married rodeo adventure.  This was taken right before the bull riding started.

At the end of the rodeo they had fireworks and then it was time to head home.

Next time I go to a rodeo a cowgirl hat and boots are a MUST!!!  Have you ever been to a rodeo?

Don’t forget to leave your tidbit by commenting and/or add Life’s Tidbits to your RSS Reader :)

Related Posts Plugin for WordPress, Blogger...
Share